
Once everything is covered, Edit is where you decide how the covering actually looks — mosaic, blur, black and white, or a solid colour — and where you fix anything the automatic tools got slightly wrong.
It is also the only mode where filters are unlocked, so you can move and resize them freely.
PutMask is free, it works offline, nothing is uploaded anywhere, and there are no ads.
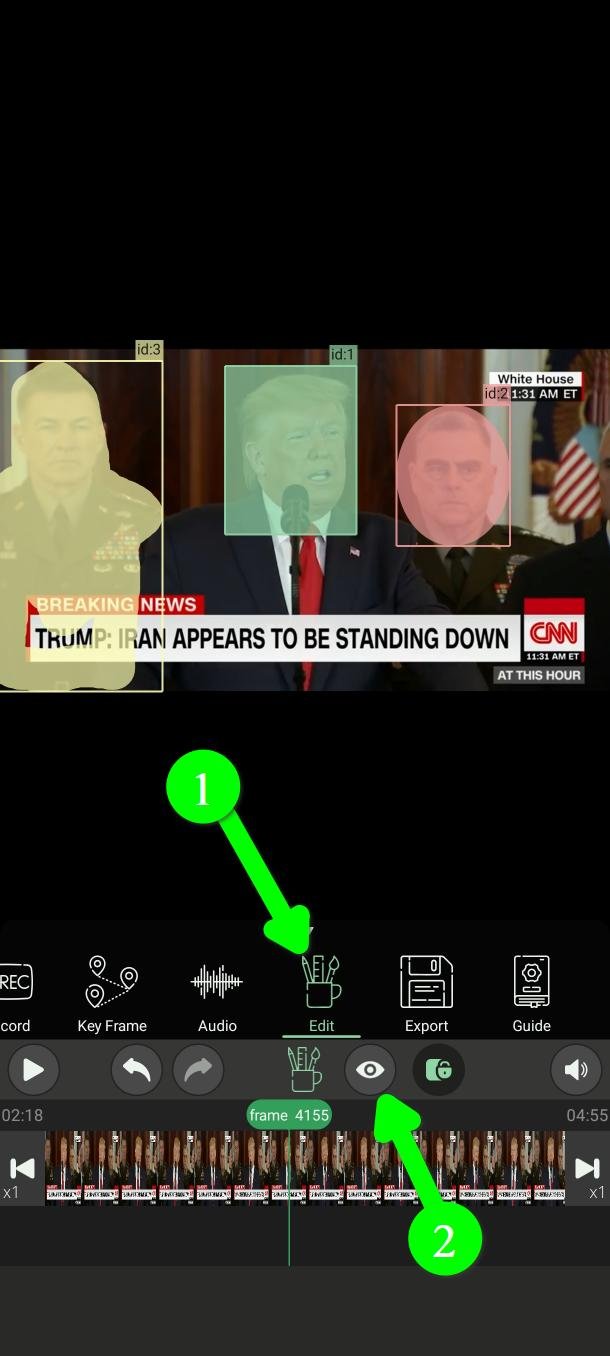
Open Edit
In the main menu, tap Edit (1).
See the real result while you work
Tap Preview (2) and the filters are drawn as they will actually appear, instead of as plain coloured boxes.
Turn this on. Judging a mosaic by looking at a green rectangle does not work. Note that preview renders at 572p, so the finished export will be sharper than what you see here.
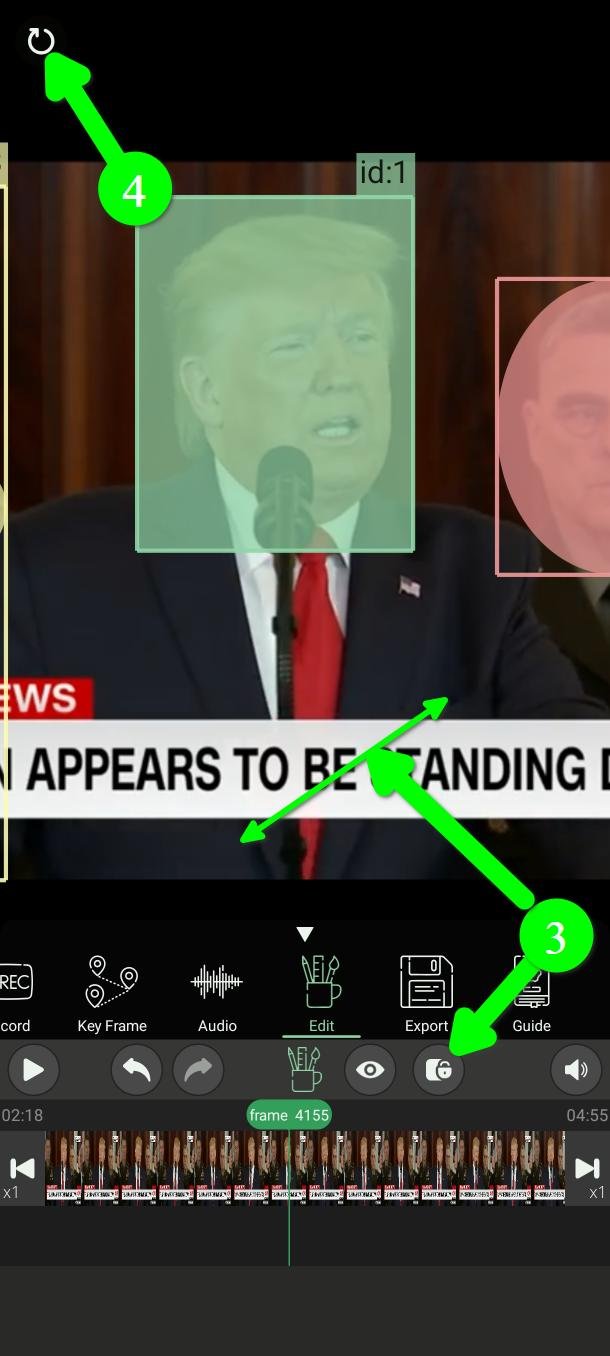
Get a closer look
On a small screen it is hard to see whether a filter really covers what it should. Tap the screen lock button to unlock the view (3), then pinch with two fingers to zoom in.
The button at the top left puts the video back to its original size and position (4).
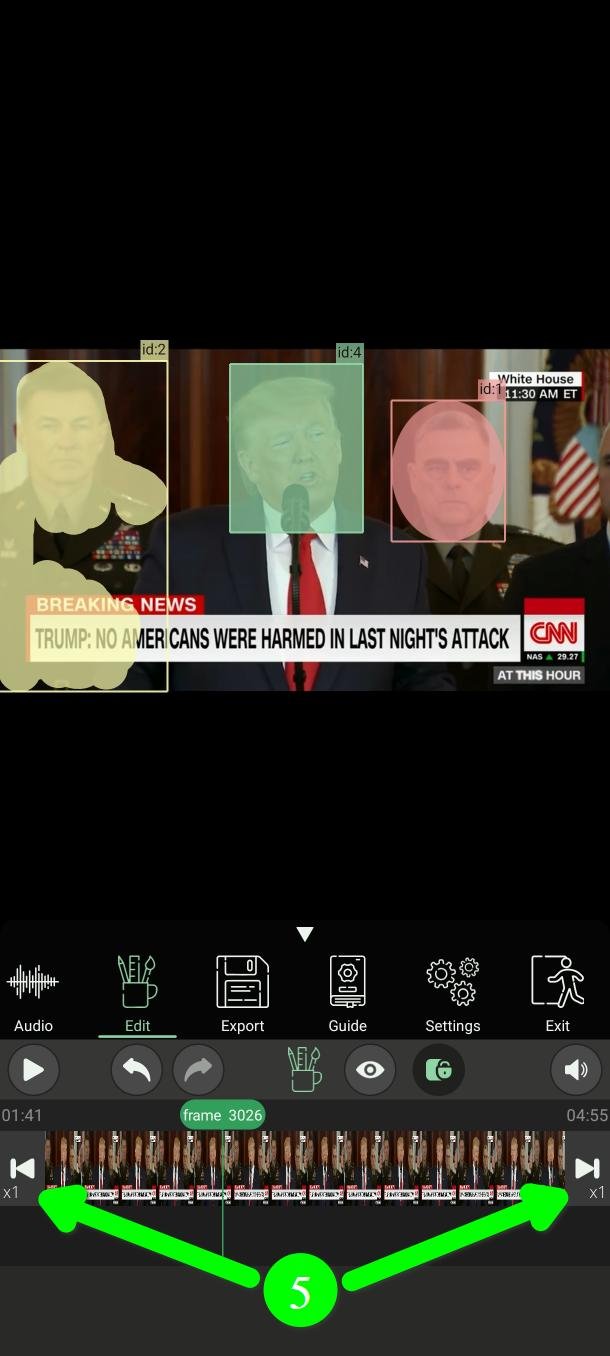
Move one frame at a time
The frame stepping buttons move the video forward or back a single frame (5) — the only way to check a fast-moving object properly.
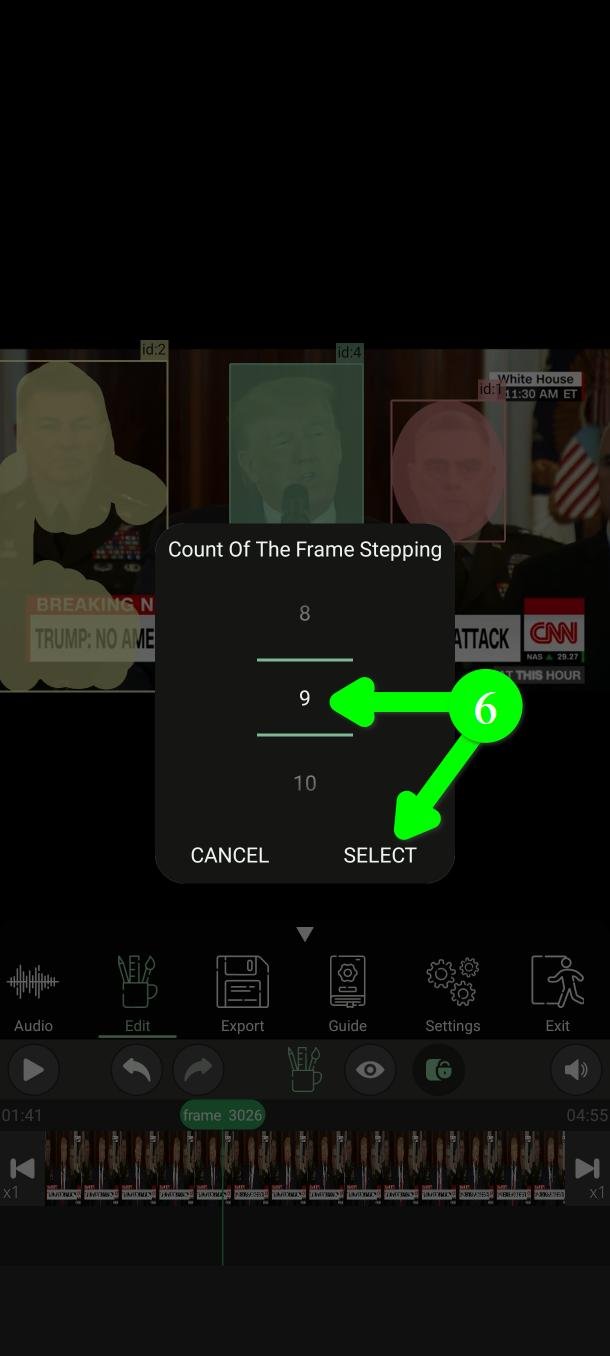
One frame at a time is slow over a long clip. Hold one of the buttons and a panel lets you pick a jump of 1 to 30 frames (6).
These three — preview, zoom and frame stepping — work in every mode, not only Edit.
Choose the effect
Tap a filter to select it (7), then tap Color (8) to choose what it does.
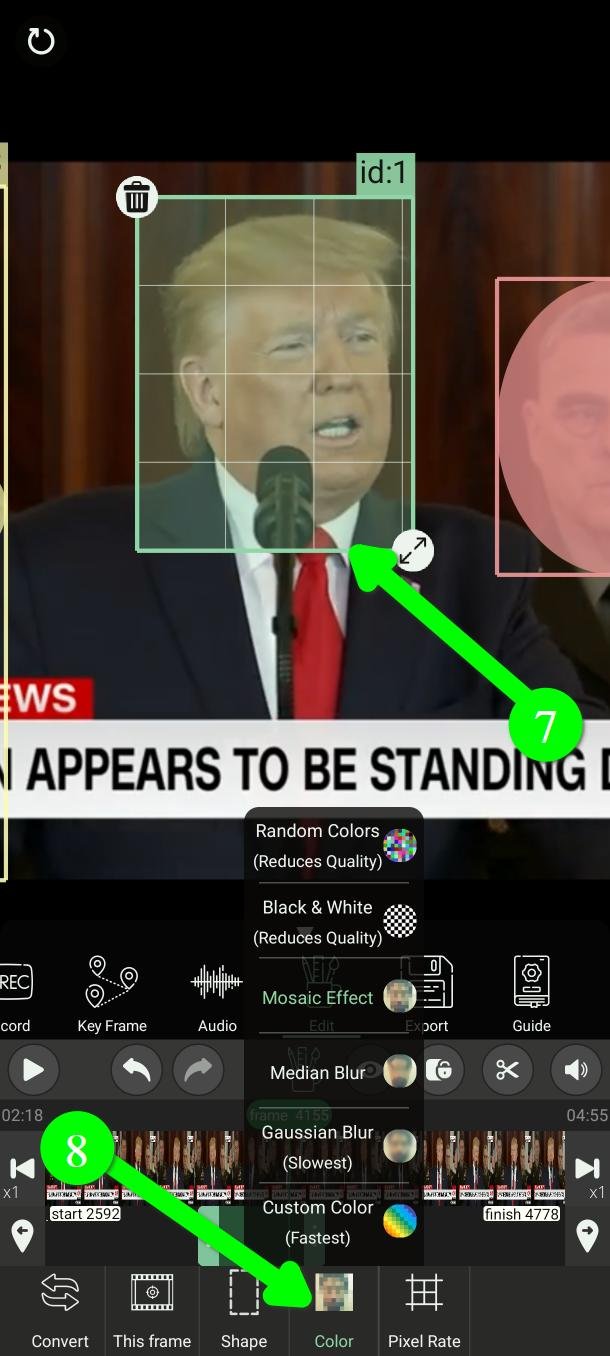
- Mosaic Effect — each square becomes the average colour of that square. The classic pixelation.
- Random Colors — each square becomes a random colour.
- Black & White — each square becomes black or white.
- Gaussian Blur — a soft, even blur. The slowest to export.
- Median Blur — a different kind of blur, faster than Gaussian.
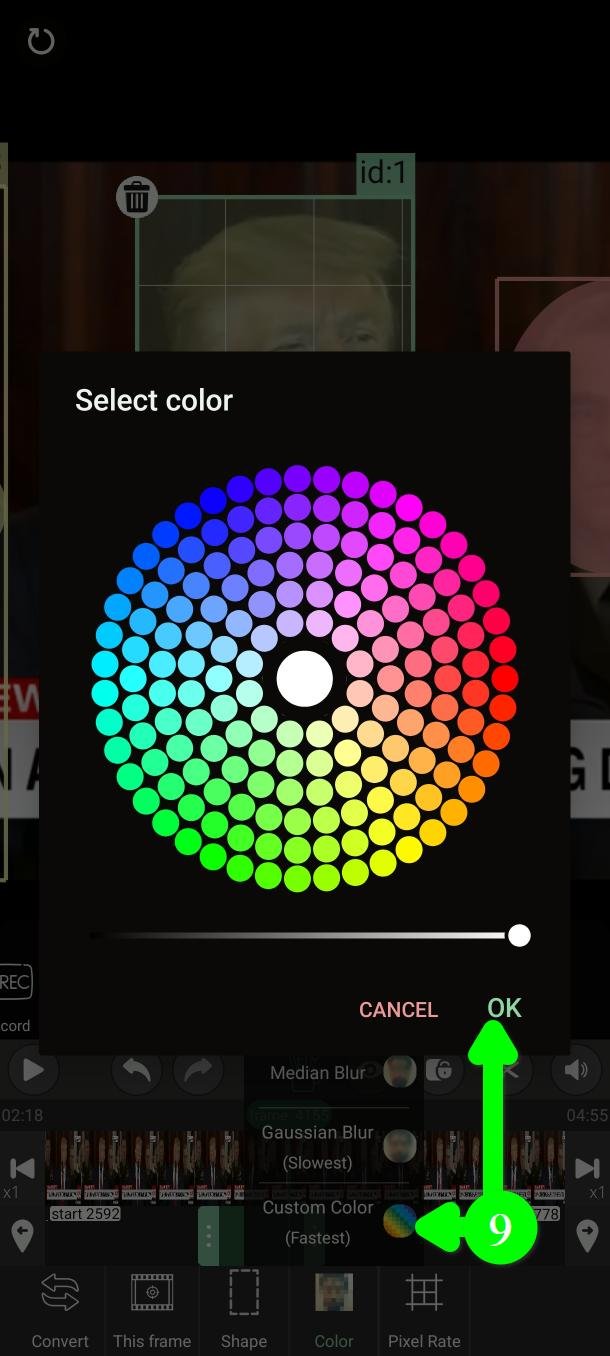
- Custom Color — a solid block of a colour you pick.
If safety matters more than looks, use Custom Color (9). A solid block leaves nothing behind to recover, and it is also the fastest to export. Every other option leaves some trace of the original picture — that is what makes them look nicer.
Strength: pixel rate and intensity
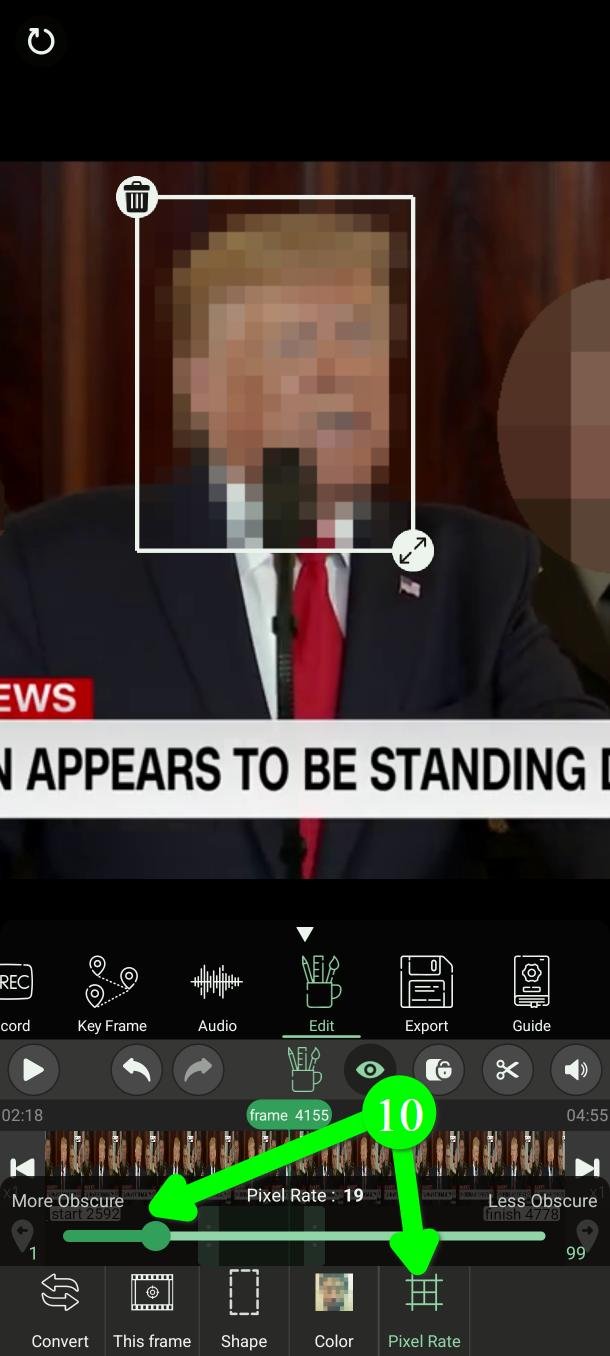
Once you have picked an effect, set how strong it is (10).
Pixel Rate applies to Mosaic, Random Colors and Black & White. Intensity applies to Gaussian and Median Blur. Custom Color has neither — a solid colour has no strength to set.
Pixel rate works backwards from what you would expect
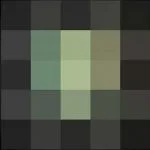
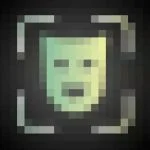
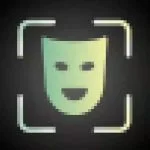
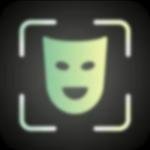
Pixel rate is how many squares each side of the filter is cut into. Pixel rate 4 means 4 squares across; pixel rate 20 means 20.
So a higher number means smaller squares, and more of the original is visible. Be careful raising it.
2
hidden
5
hidden
20
starting to show
50
too much shows
Intensity works the way you would expect
For the two blurs, a higher intensity means a stronger blur. Avoid low values.
High intensity can make exporting much slower, especially with Gaussian Blur.
10
too weak
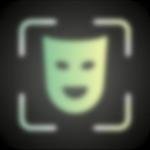
20
still readable
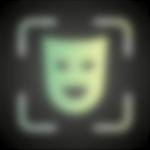
40
good
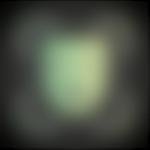
99
strongest
Shape
Tap Shape (11) to switch a filter between rectangle, ellipse and line.
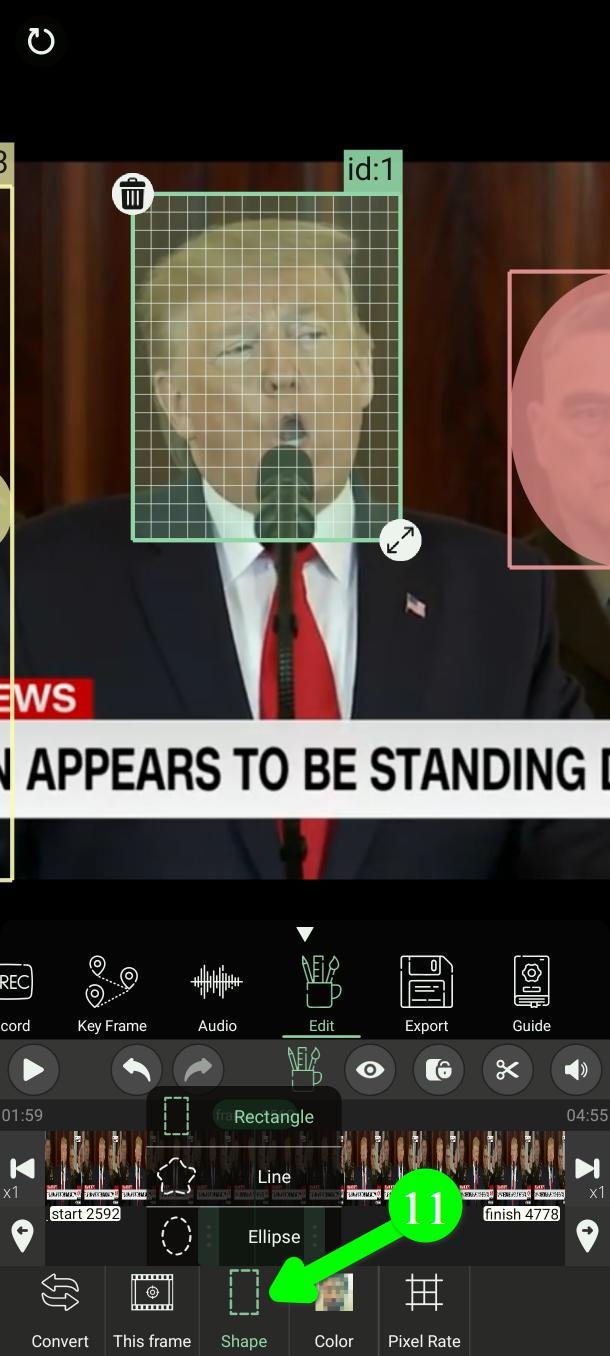
Moving and resizing filters
In other modes a filter shows a small padlock in its bottom left corner, meaning you cannot move or resize it. In Edit that padlock is gone (12).
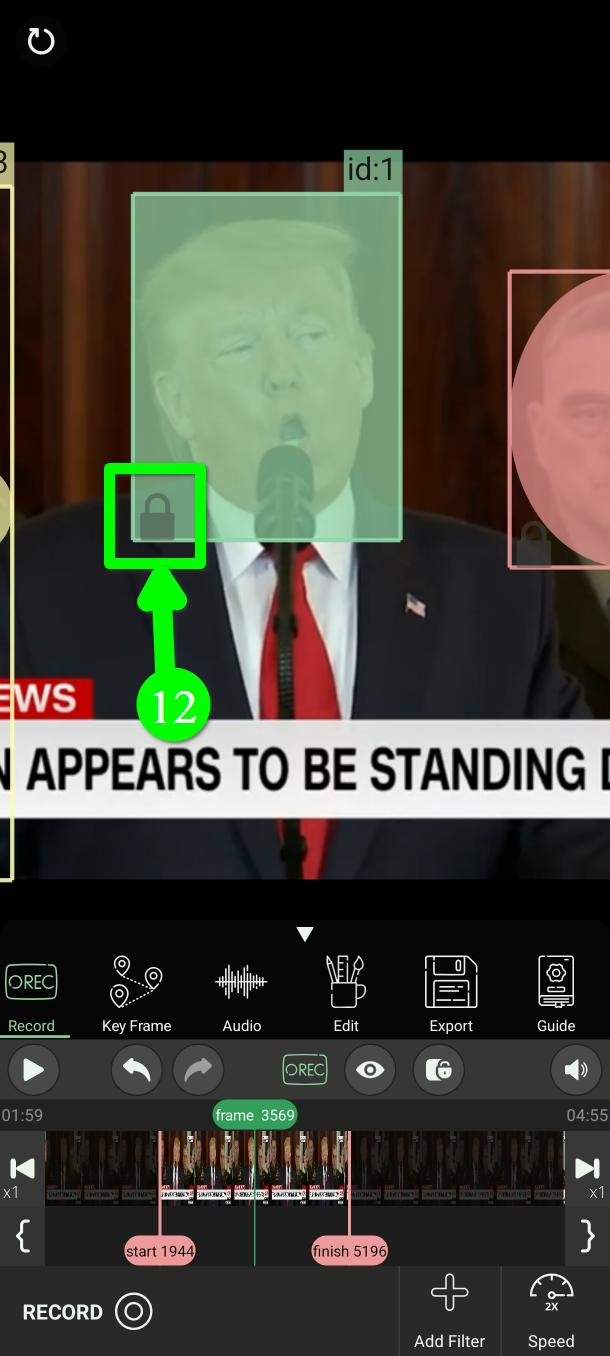
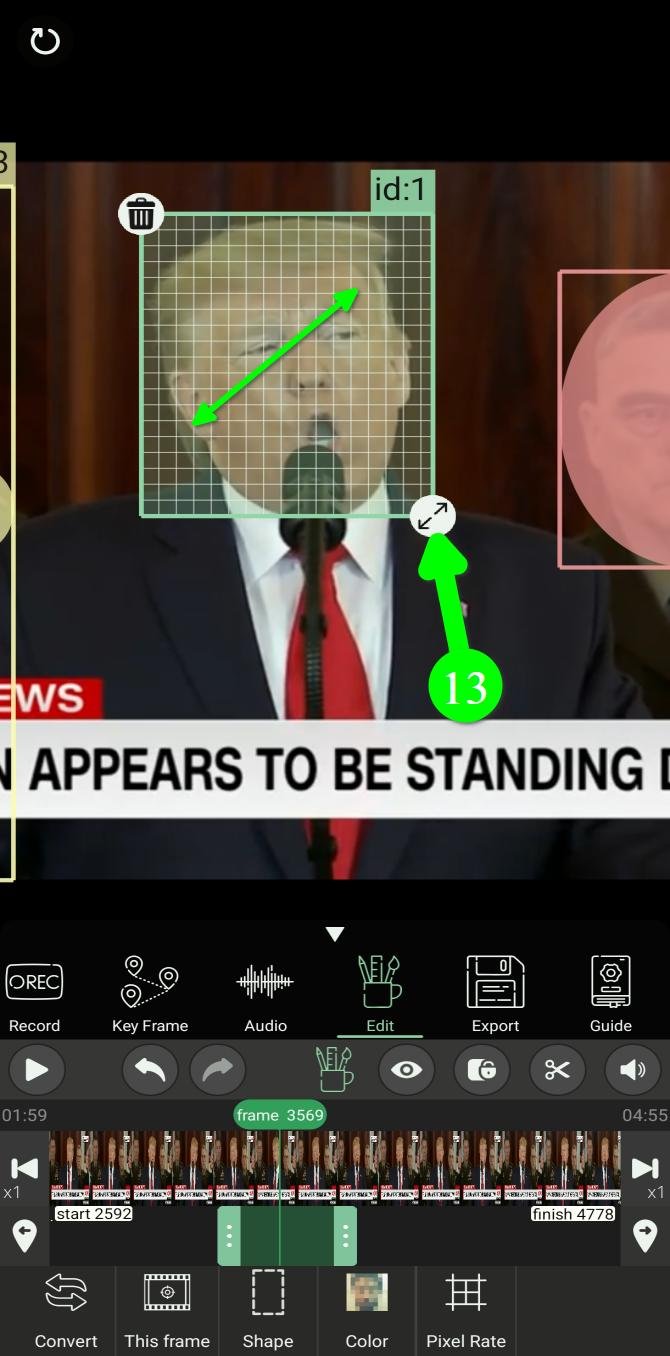
Read this before you drag anything. Moving or resizing a filter in Edit changes it in every frame it appears in (13), not just the one you are looking at. This was the other way round before version 9.
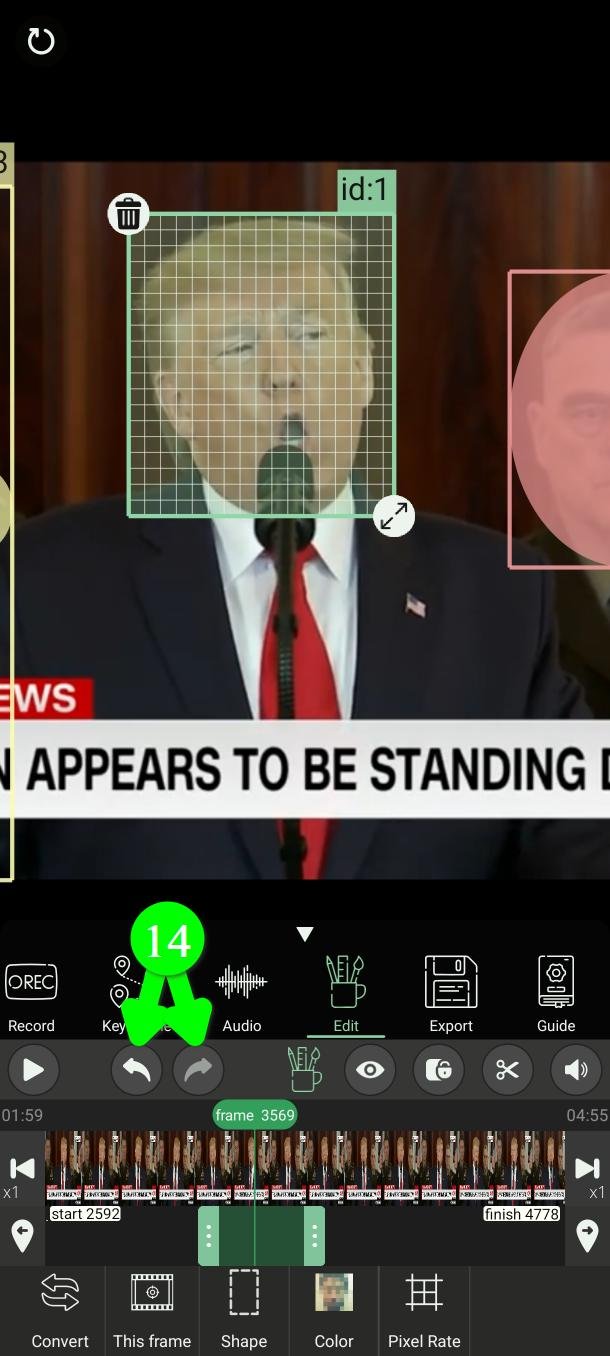
Made a mistake? Undo and Redo (14) will get it back.
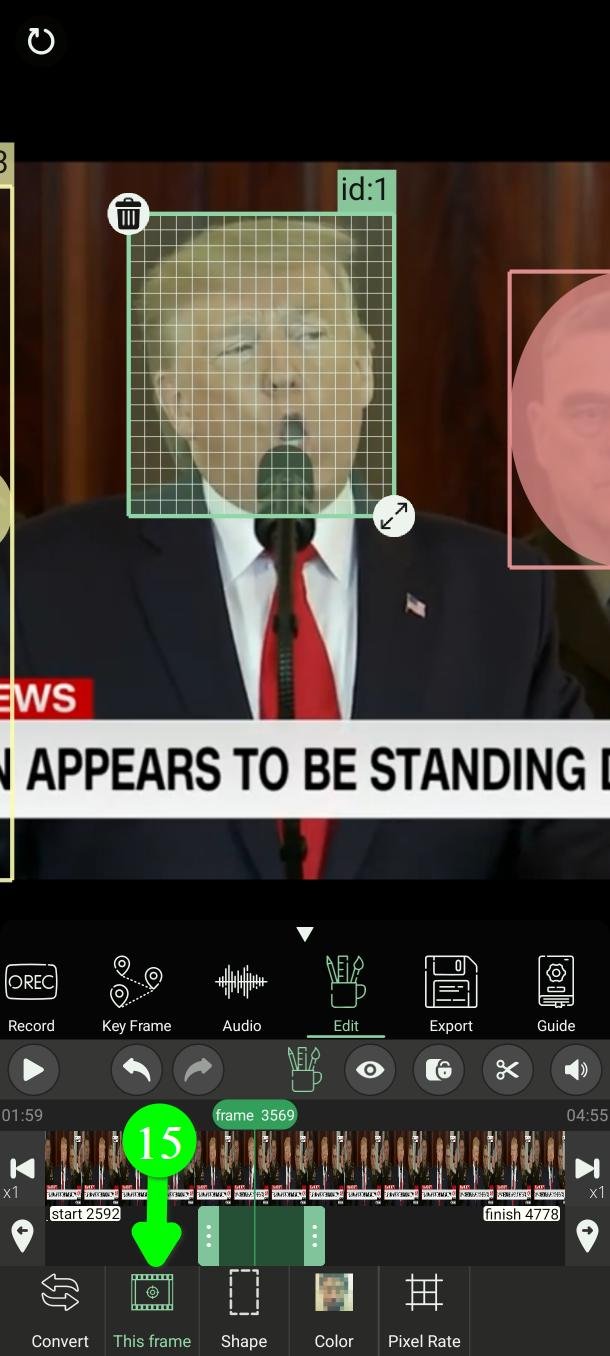
Changing only one frame
To change a single frame and leave the rest alone, tap This Frame (15) before you touch the filter. Everything you do after that applies to that frame only.
How long a filter lasts
Two ways, the same as everywhere else in PutMask.
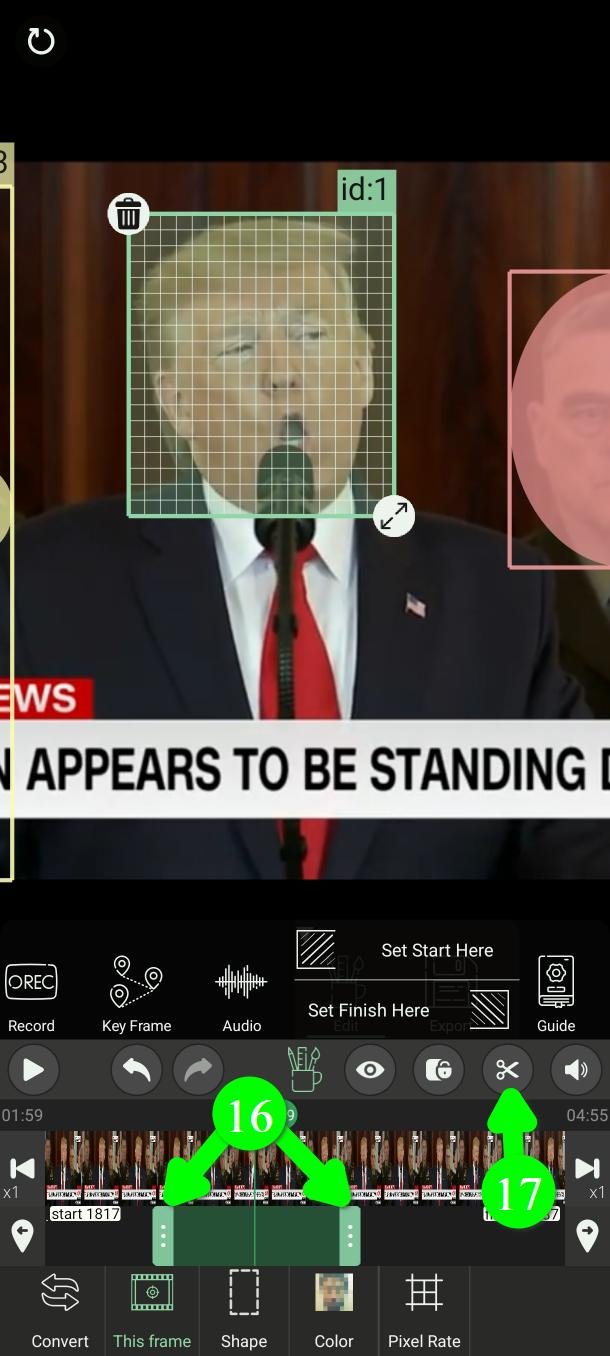
Quick: drag either end of the filter's bar on the timeline (16).
Exact: go to the frame you want, tap the scissors, then Set Start Here or Set Finish Here (17).
Convert a filter to key frames
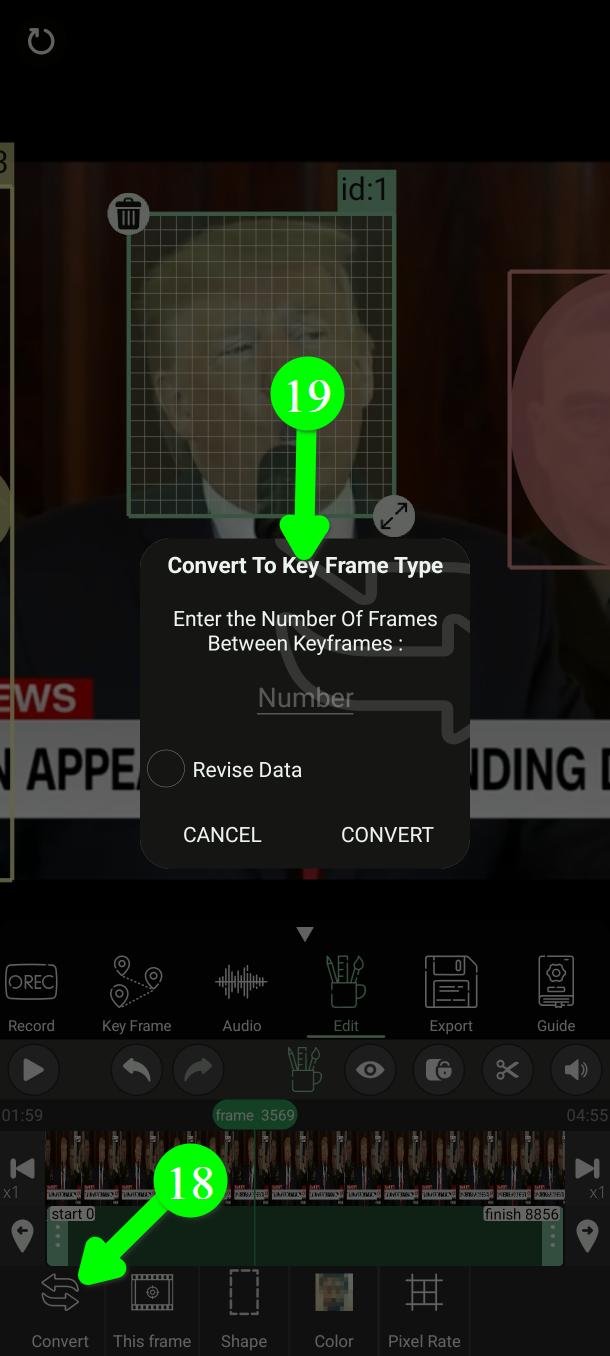
Green filters come from the automatic tools, red ones from Record, and yellow ones from Key Frame. Key frame filters are by far the easiest to correct — so if a green or red one is not quite right, turn it into a yellow one.
Select the filter and tap Convert (18).
In the box that opens, type how many frames apart the key frames should be (19). Enter 10 and you get a key frame every 10 frames.
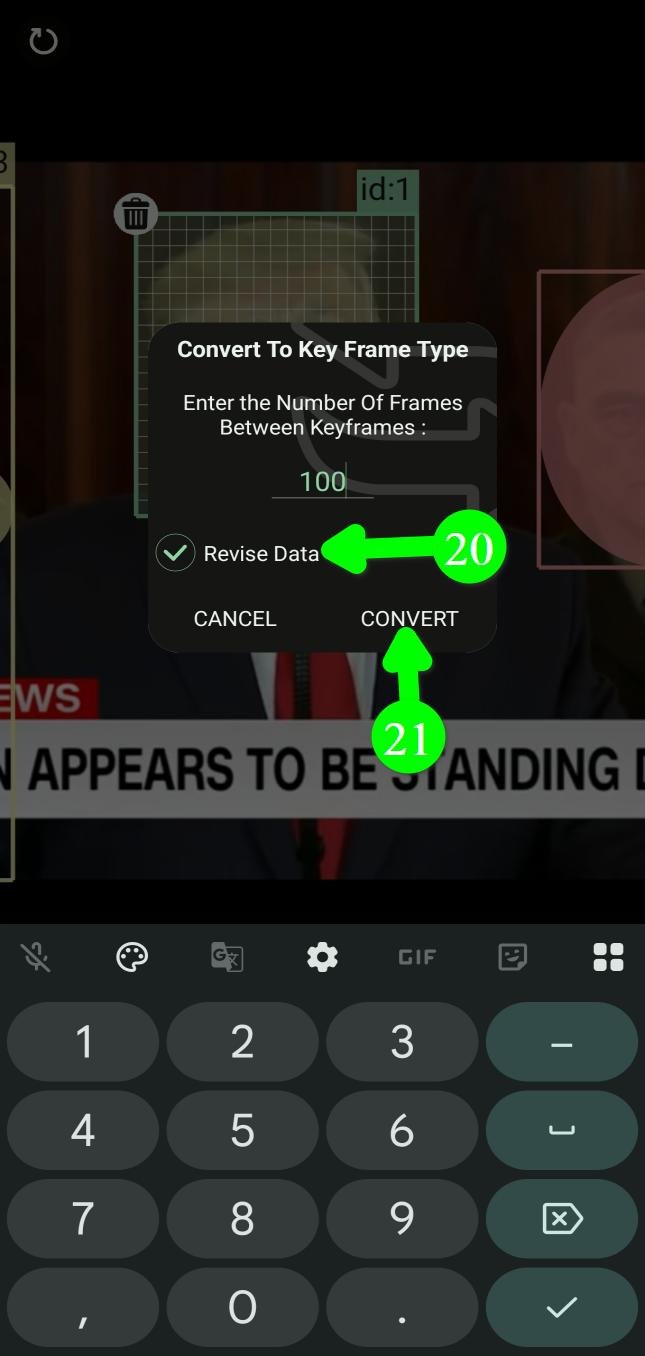
Tick Rebuild Path (20) and PutMask rebuilds the movement from those key frames, so the filter travels at a constant speed between them. Leave it unticked and the original path is kept.
Then tap Convert (21).
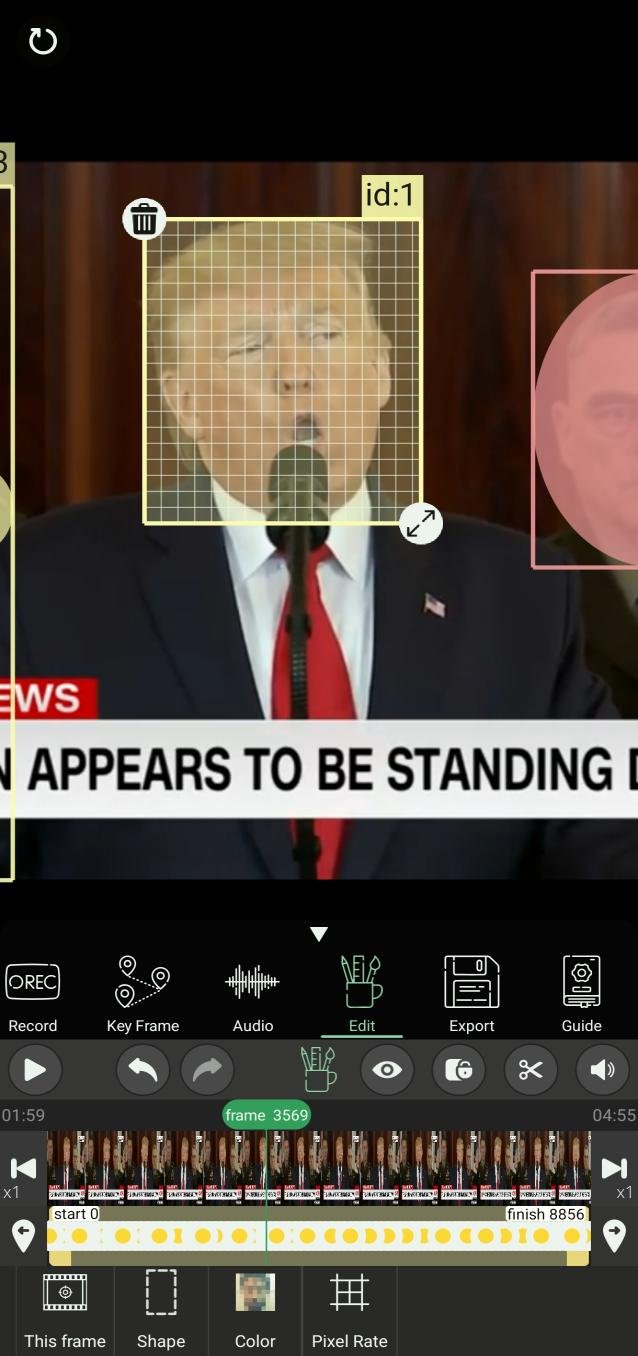
Now switch to Key Frame mode to adjust it point by point.
Draw and erase on a line filter
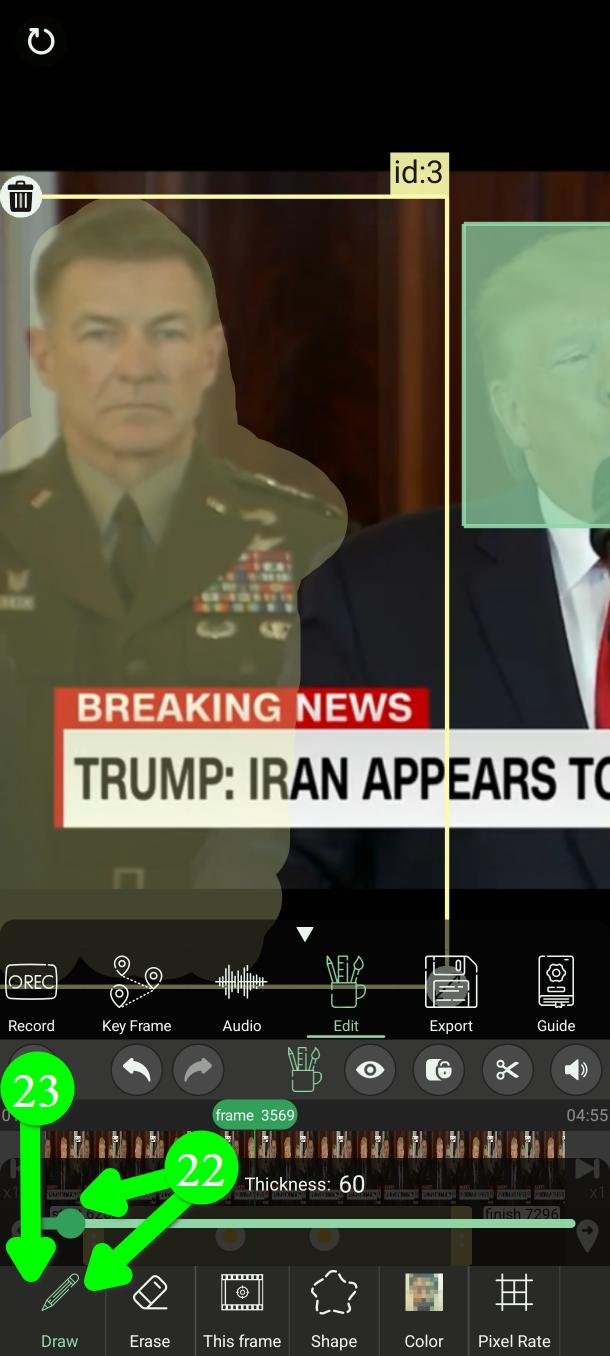
When you select a line filter — one you drew yourself, or one made by person segmentation — two extra buttons appear.
Draw (22) lets you paint more onto the shape. Tap Draw, pick a thickness, then draw on the screen. Tap Draw again to turn it off (23).
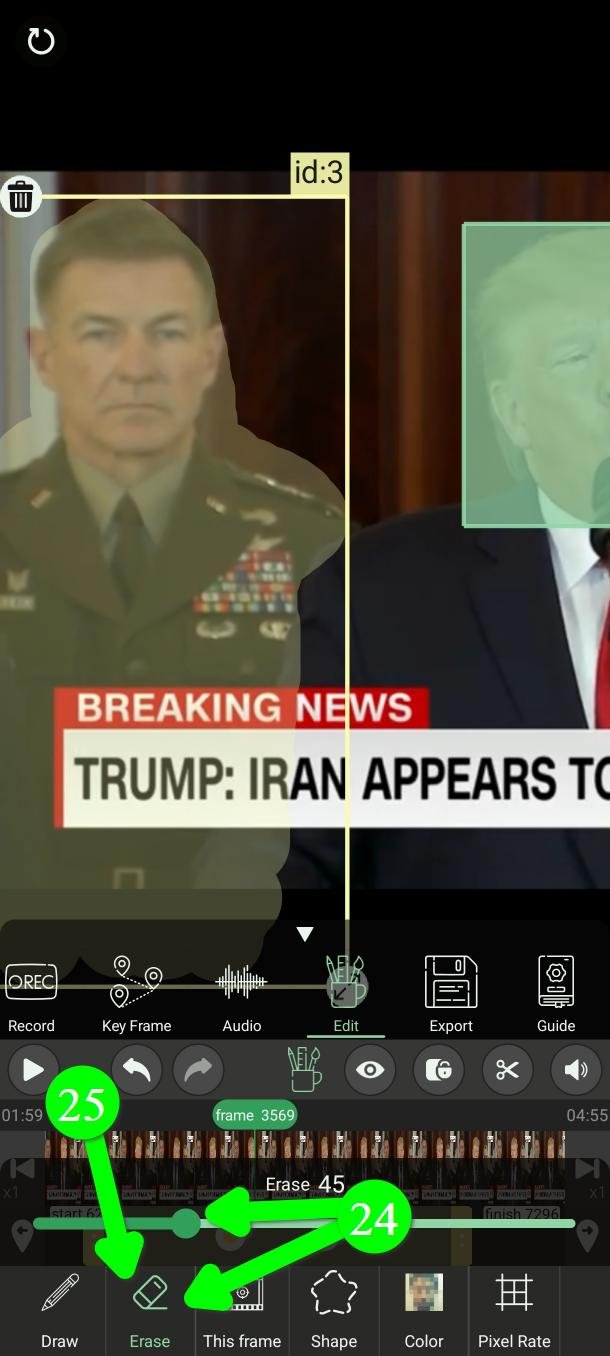
Erase (24) removes part of the shape. Tap Erase, pick a thickness, then touch the part you want gone. Tap Erase again to turn it off (25).
Erasing always applies to the current frame only.
Set the defaults for new filters
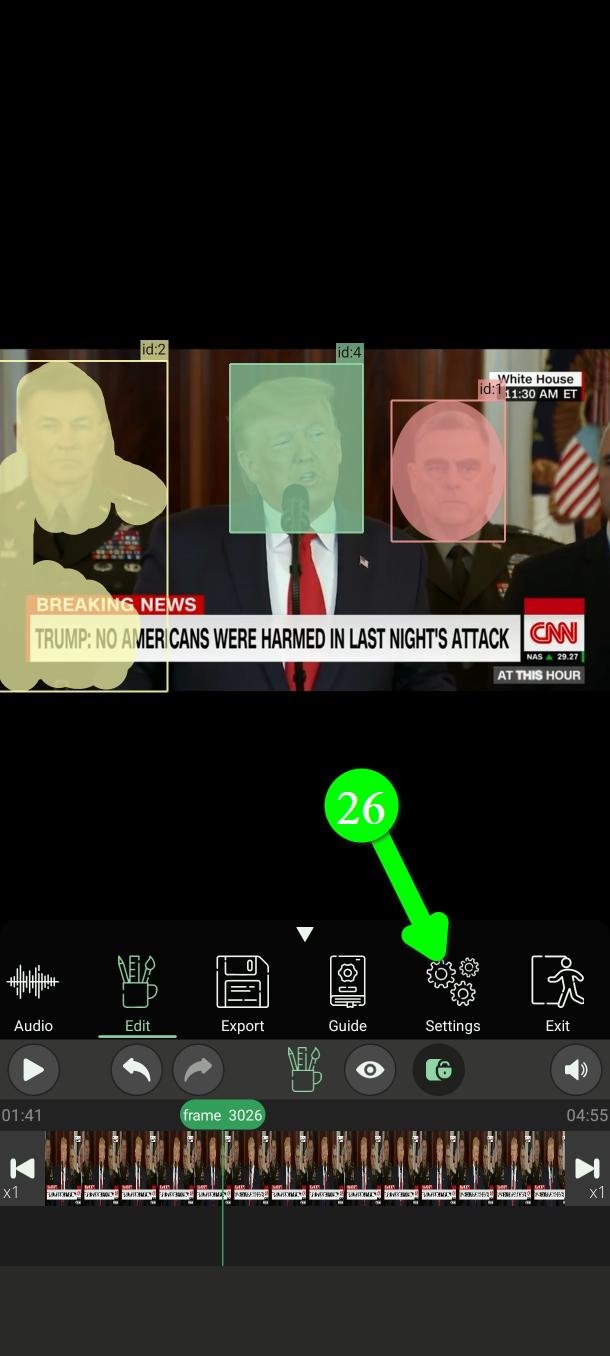
If you always want the same colour, strength and shape, set them once. From the main menu tap Settings (26).
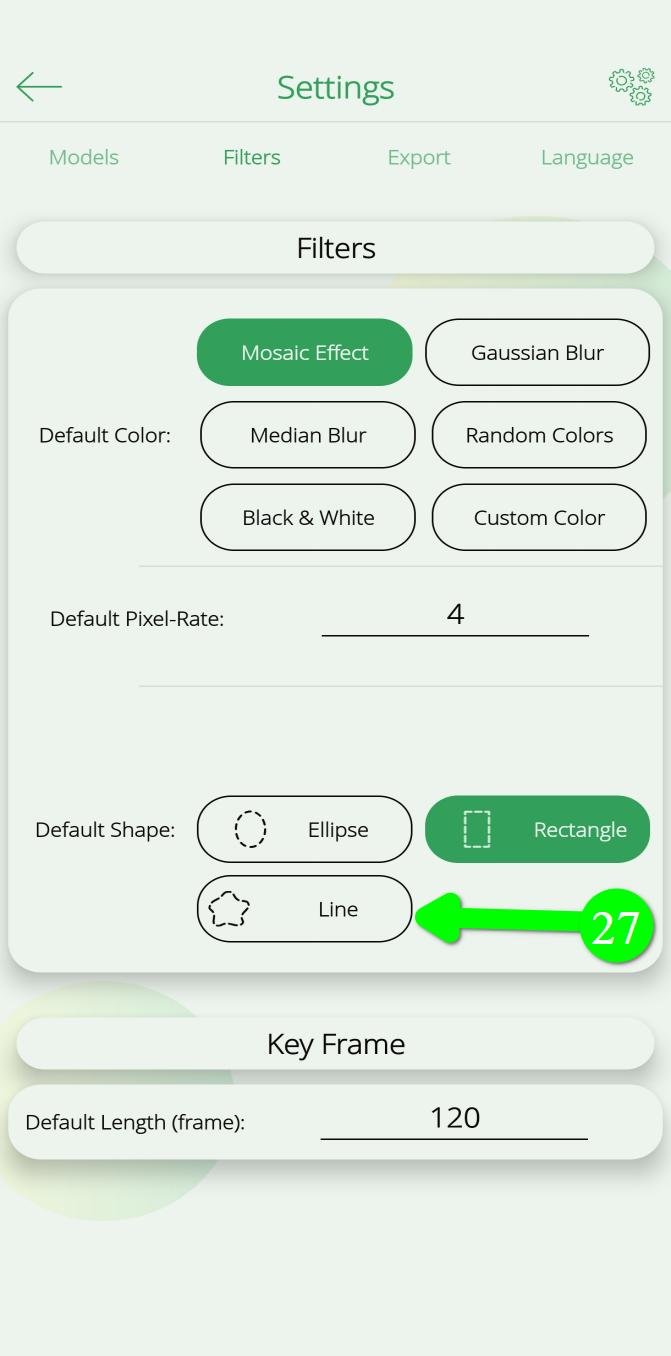
Under Filters you can set the default colour, the default pixel rate or intensity, and the default shape.
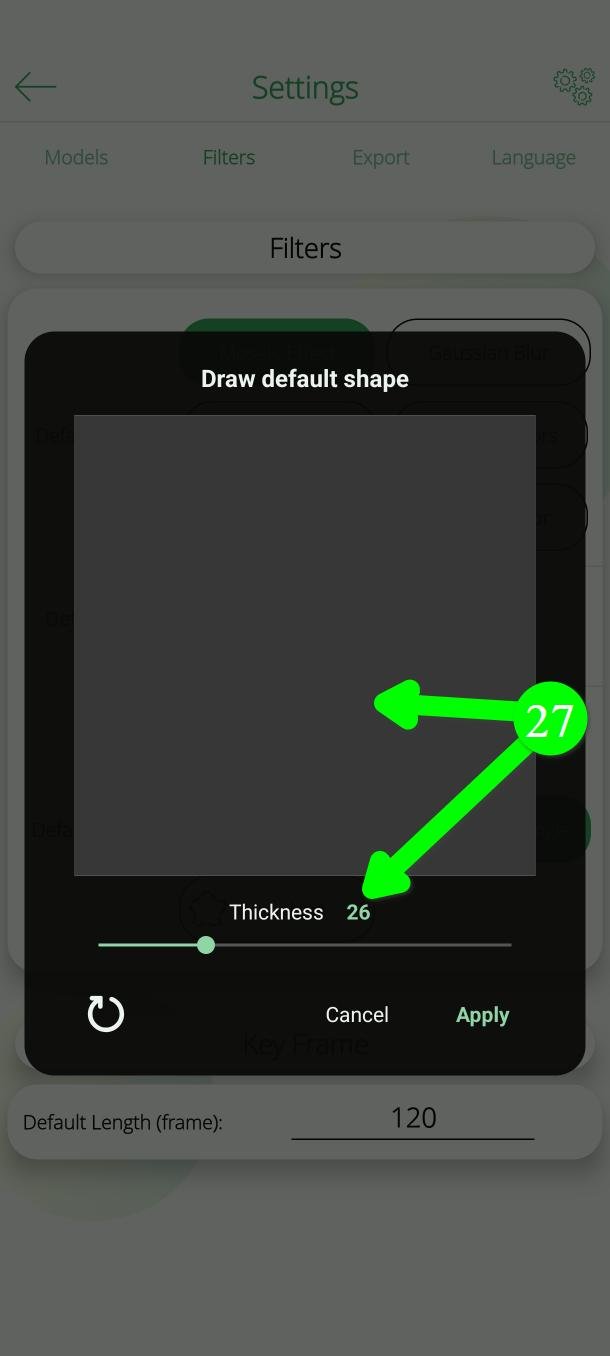
Pick Line as the default shape and a box opens for you to draw the shape you want (27).
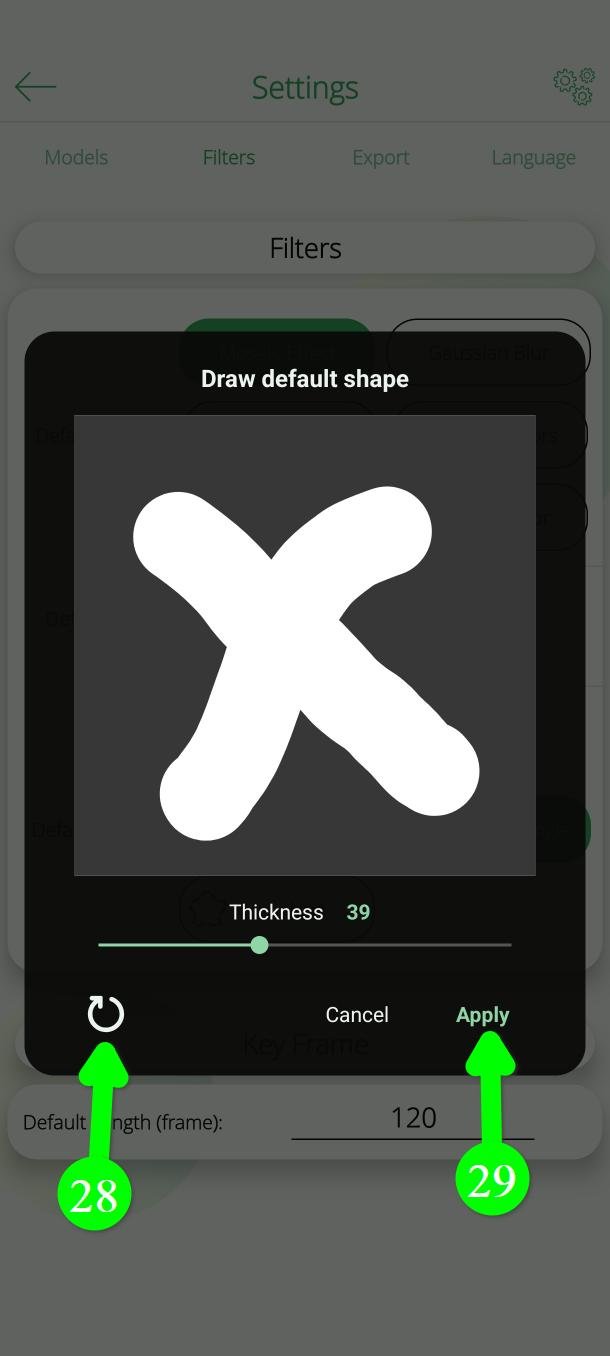
Choose a thickness and draw. You can use several separate strokes (28). To start again, tap the button at the bottom left to clear it (29). When you are happy, tap Apply.
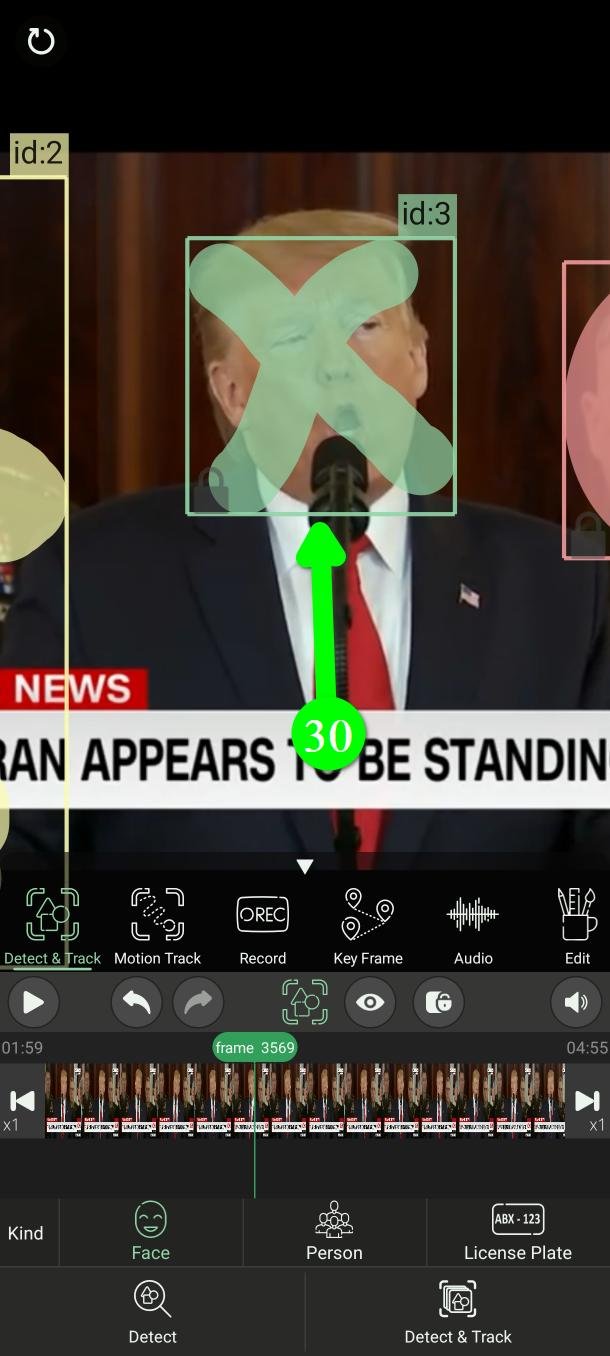
From then on every new filter — in video and in images — is created with those settings (30).
What the filter colours mean
Green
Detect & Track
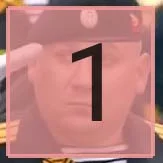
Red
Record
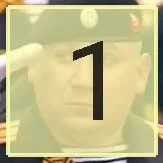
Yellow
Key Frame
Questions people ask
Which effect is safest?
Custom Color. A solid block leaves nothing of the original, and it exports fastest. Mosaic and blur always keep some trace — that is why they look better.
I raised the pixel rate and now I can see the face
That is how pixel rate works: a higher number means more, smaller squares, so more detail survives. Lower it.
Why is my export so slow?
Usually Gaussian Blur at a high intensity. Try Median Blur, or a mosaic, or Custom Color.
I moved a filter and it moved in every frame
That is the normal behaviour in Edit. Tap This Frame first if you only want to change one frame, and use Undo to take back what already happened.
Is PutMask free? Are there ads?
Yes, it is free, and there are no ads at all. Some extras are for premium users.
Does my video get uploaded anywhere?
No. Everything happens on your phone, and the app does not need an internet connection.
Your privacy is our priority. We do not collect any data about you — and that is also the reason there are no ads. An ad needs your advertising ID, and that ID is what lets ad companies follow you from one app to the next and build a profile of you. We did not want to hand anyone that information about the people using a privacy tool, so we left ads out.
Need help?
Write to Support@putmask.com, or leave a message in our Telegram channel.
3 thoughts on “How to Add Mosaic and Blur Effects to a Video on Android”