How To Work With
Face-Track In
PutMask Application
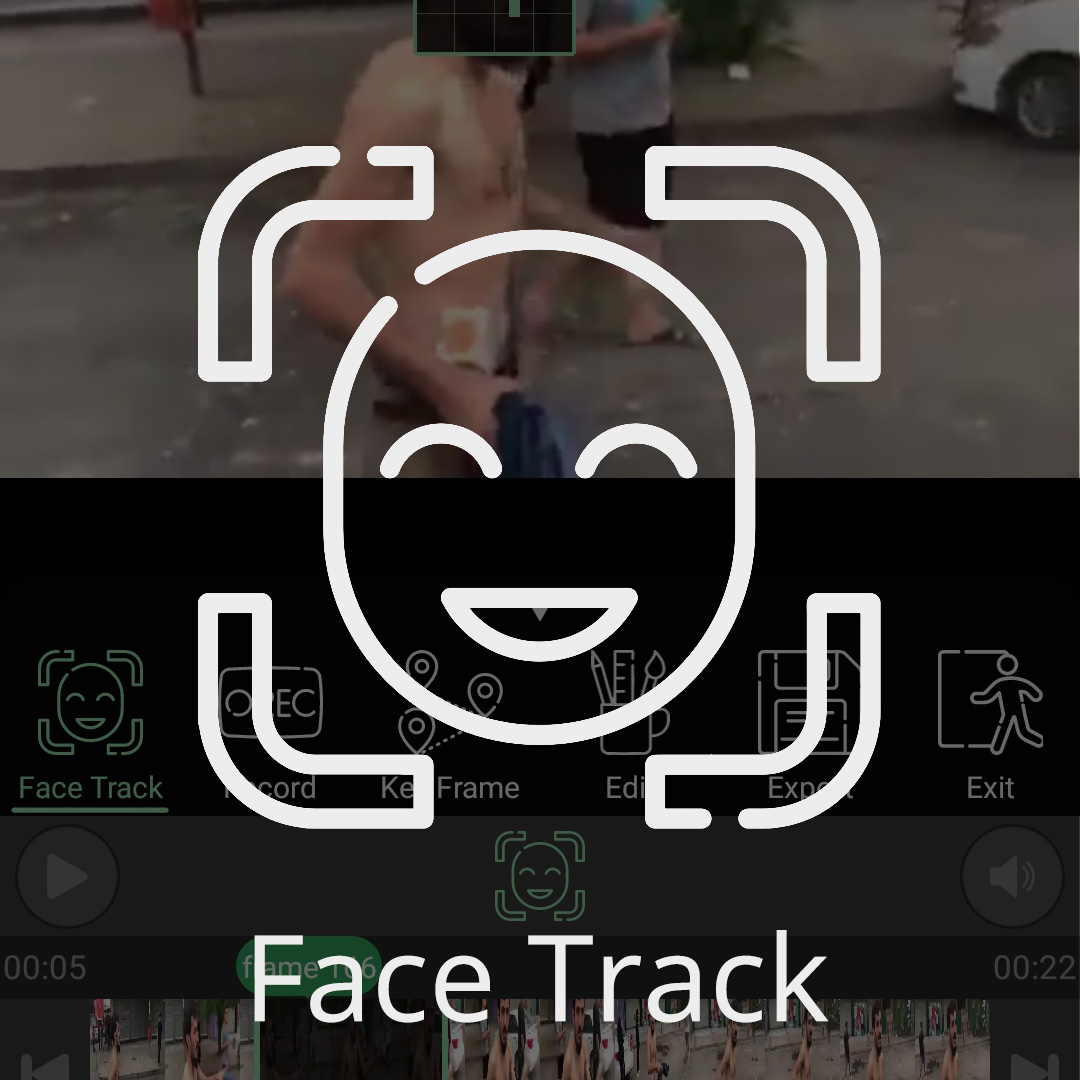
To hide & obscure faces automatically, first you need to click on Icon State to open the menu of states (1), and then you have to click on “FaceTrack” Button to put PutMask to “FaceTrack” mode (2).

When PutMask goes to face tracking mode you have two tools to use face tracking feature.
Tool 1: Use this tool when you know what faces are in the video and also how long they are in the video. Or when there are few faces in the video.
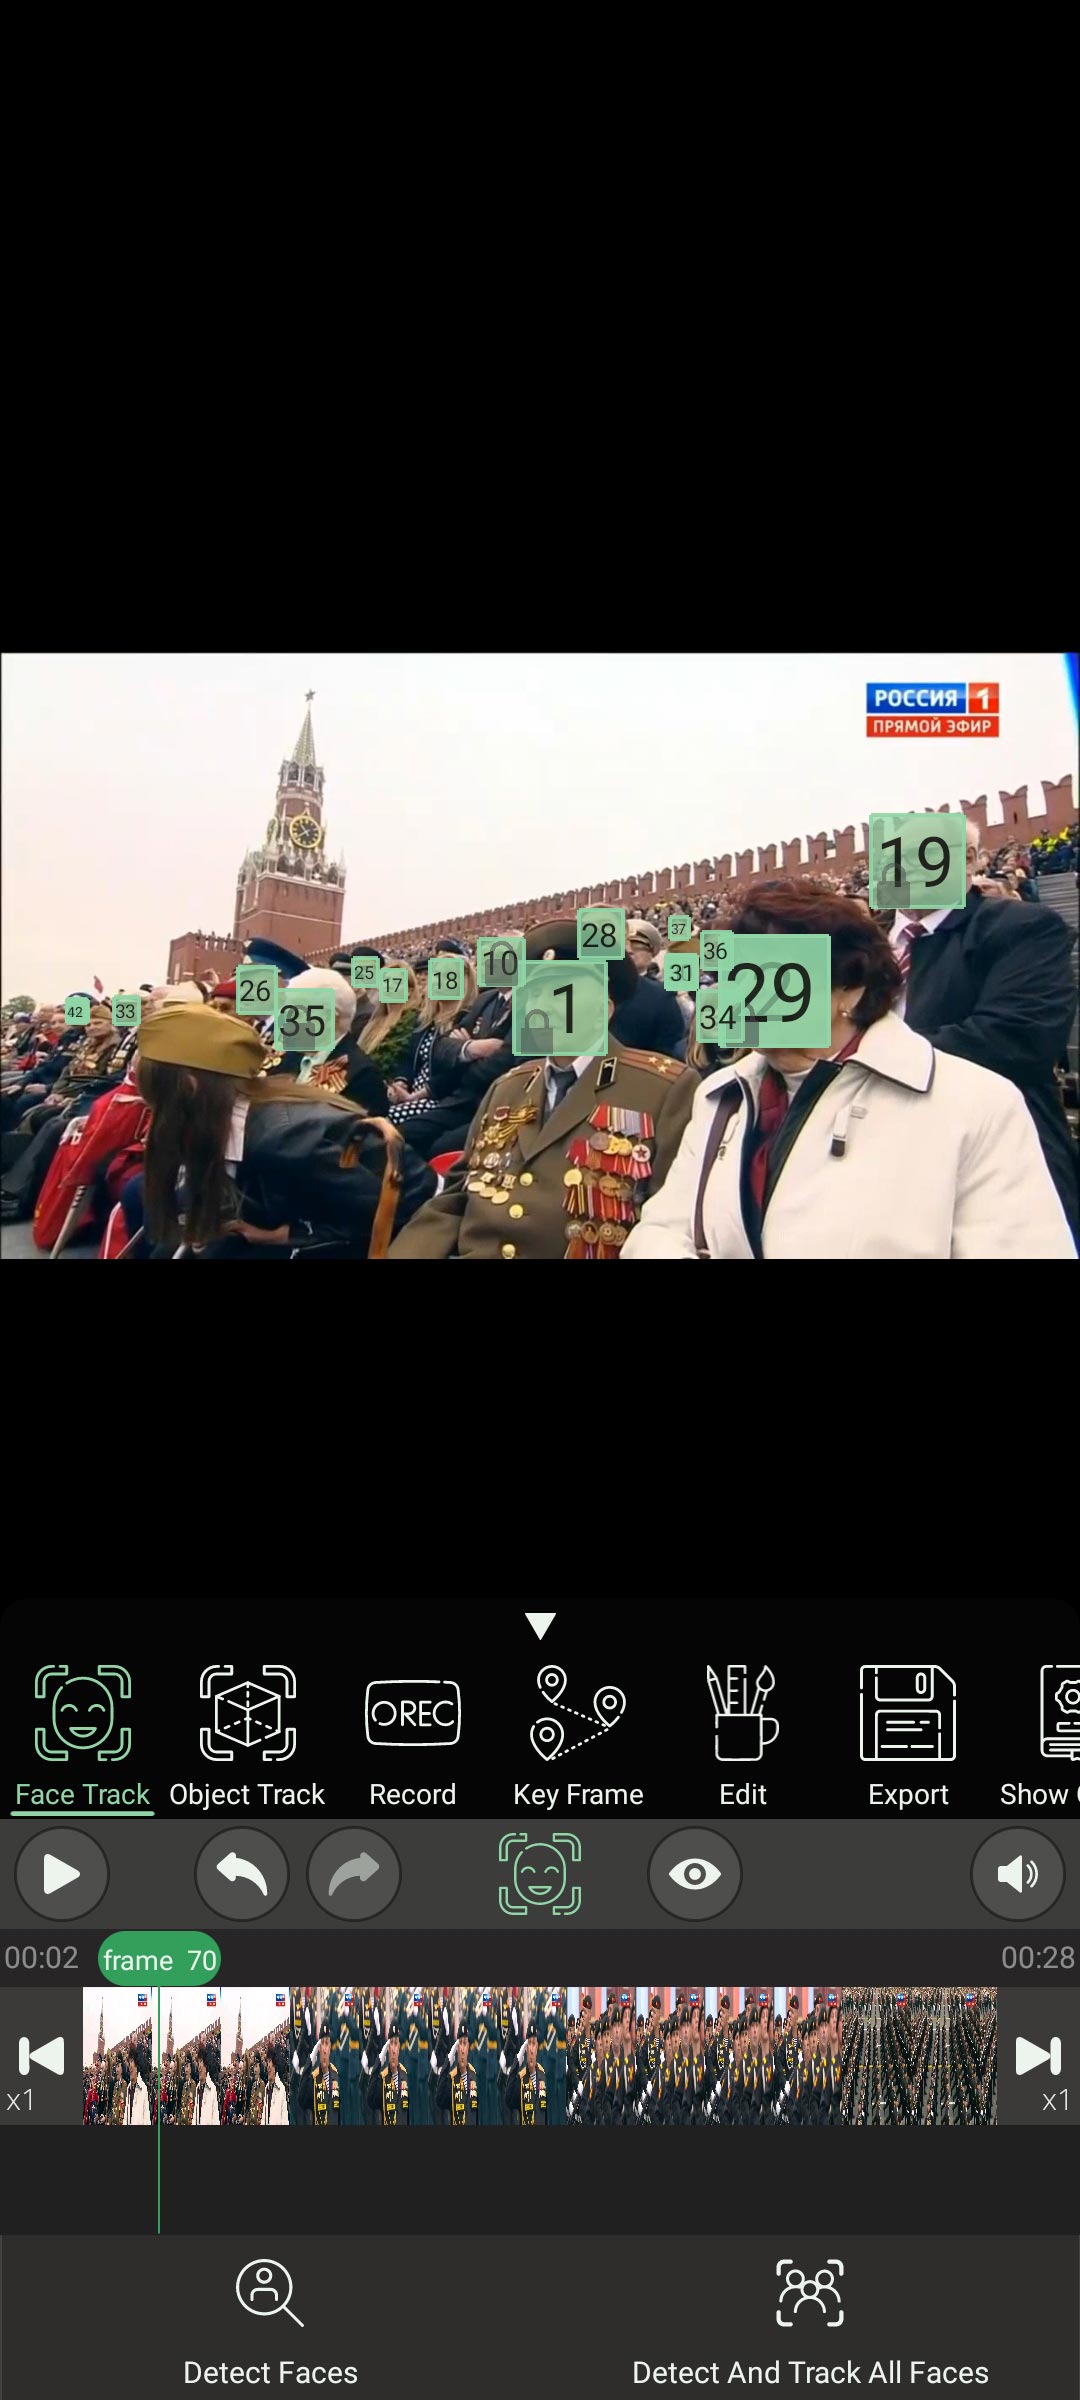
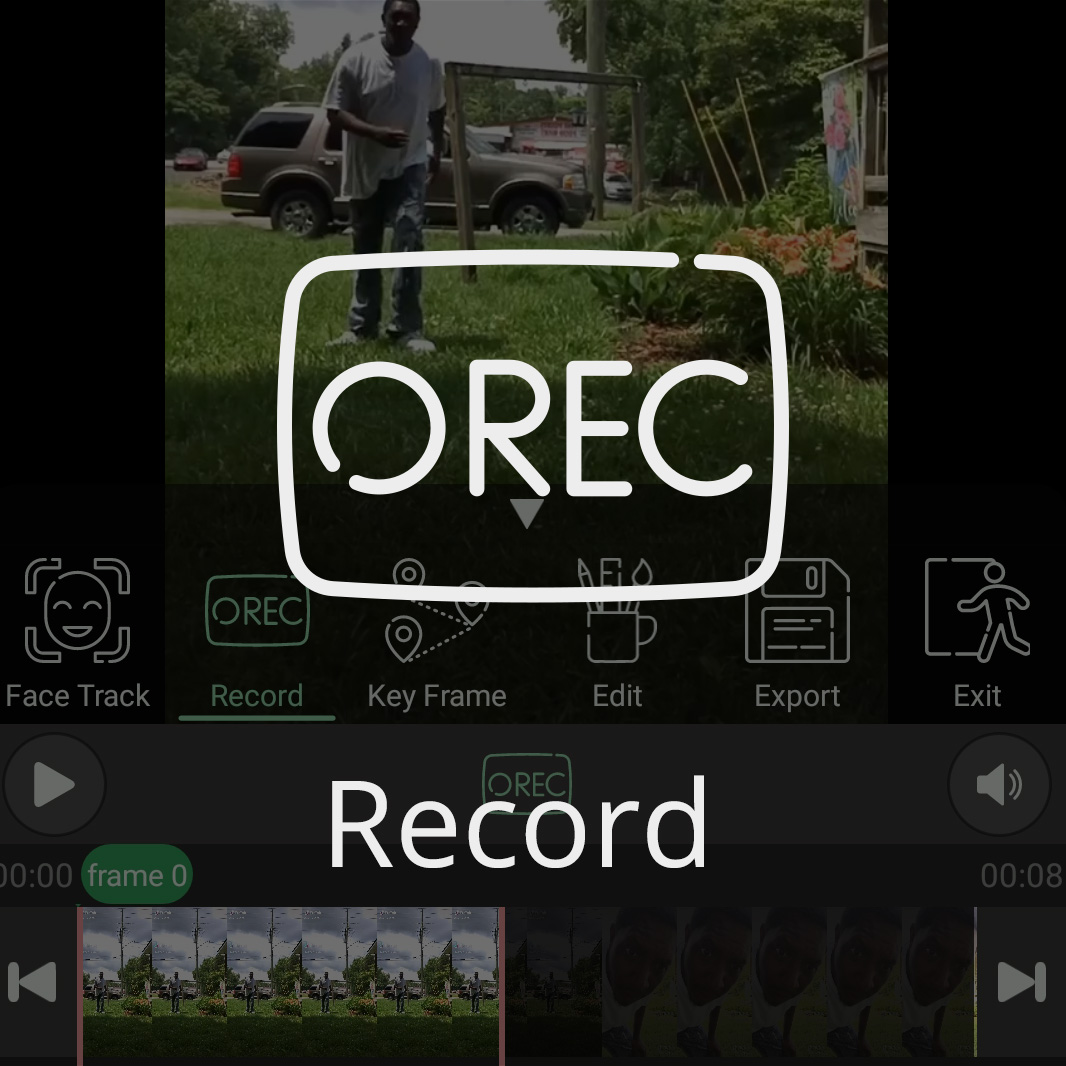
When PutMask goes to FaceTrack State, the “Detect Faces” button at the bottom of PutMask appears for you. After you go to your desired frame, click the “Detect Faces” button so that PutMask starts detecting the faces of that frame (3).

When PutMask goes to face tracking mode you have two tools to use face tracking feature.
Tool 1: Use this tool when you know what faces are in the video and also how long they are in the video. Or when there are few faces in the video.
When PutMask goes to FaceTrack State, the “Detect Faces” button at the bottom of PutMask appears for you. After you go to your desired frame, click the “Detect Faces” button so that PutMask starts detecting the faces of that frame (3).

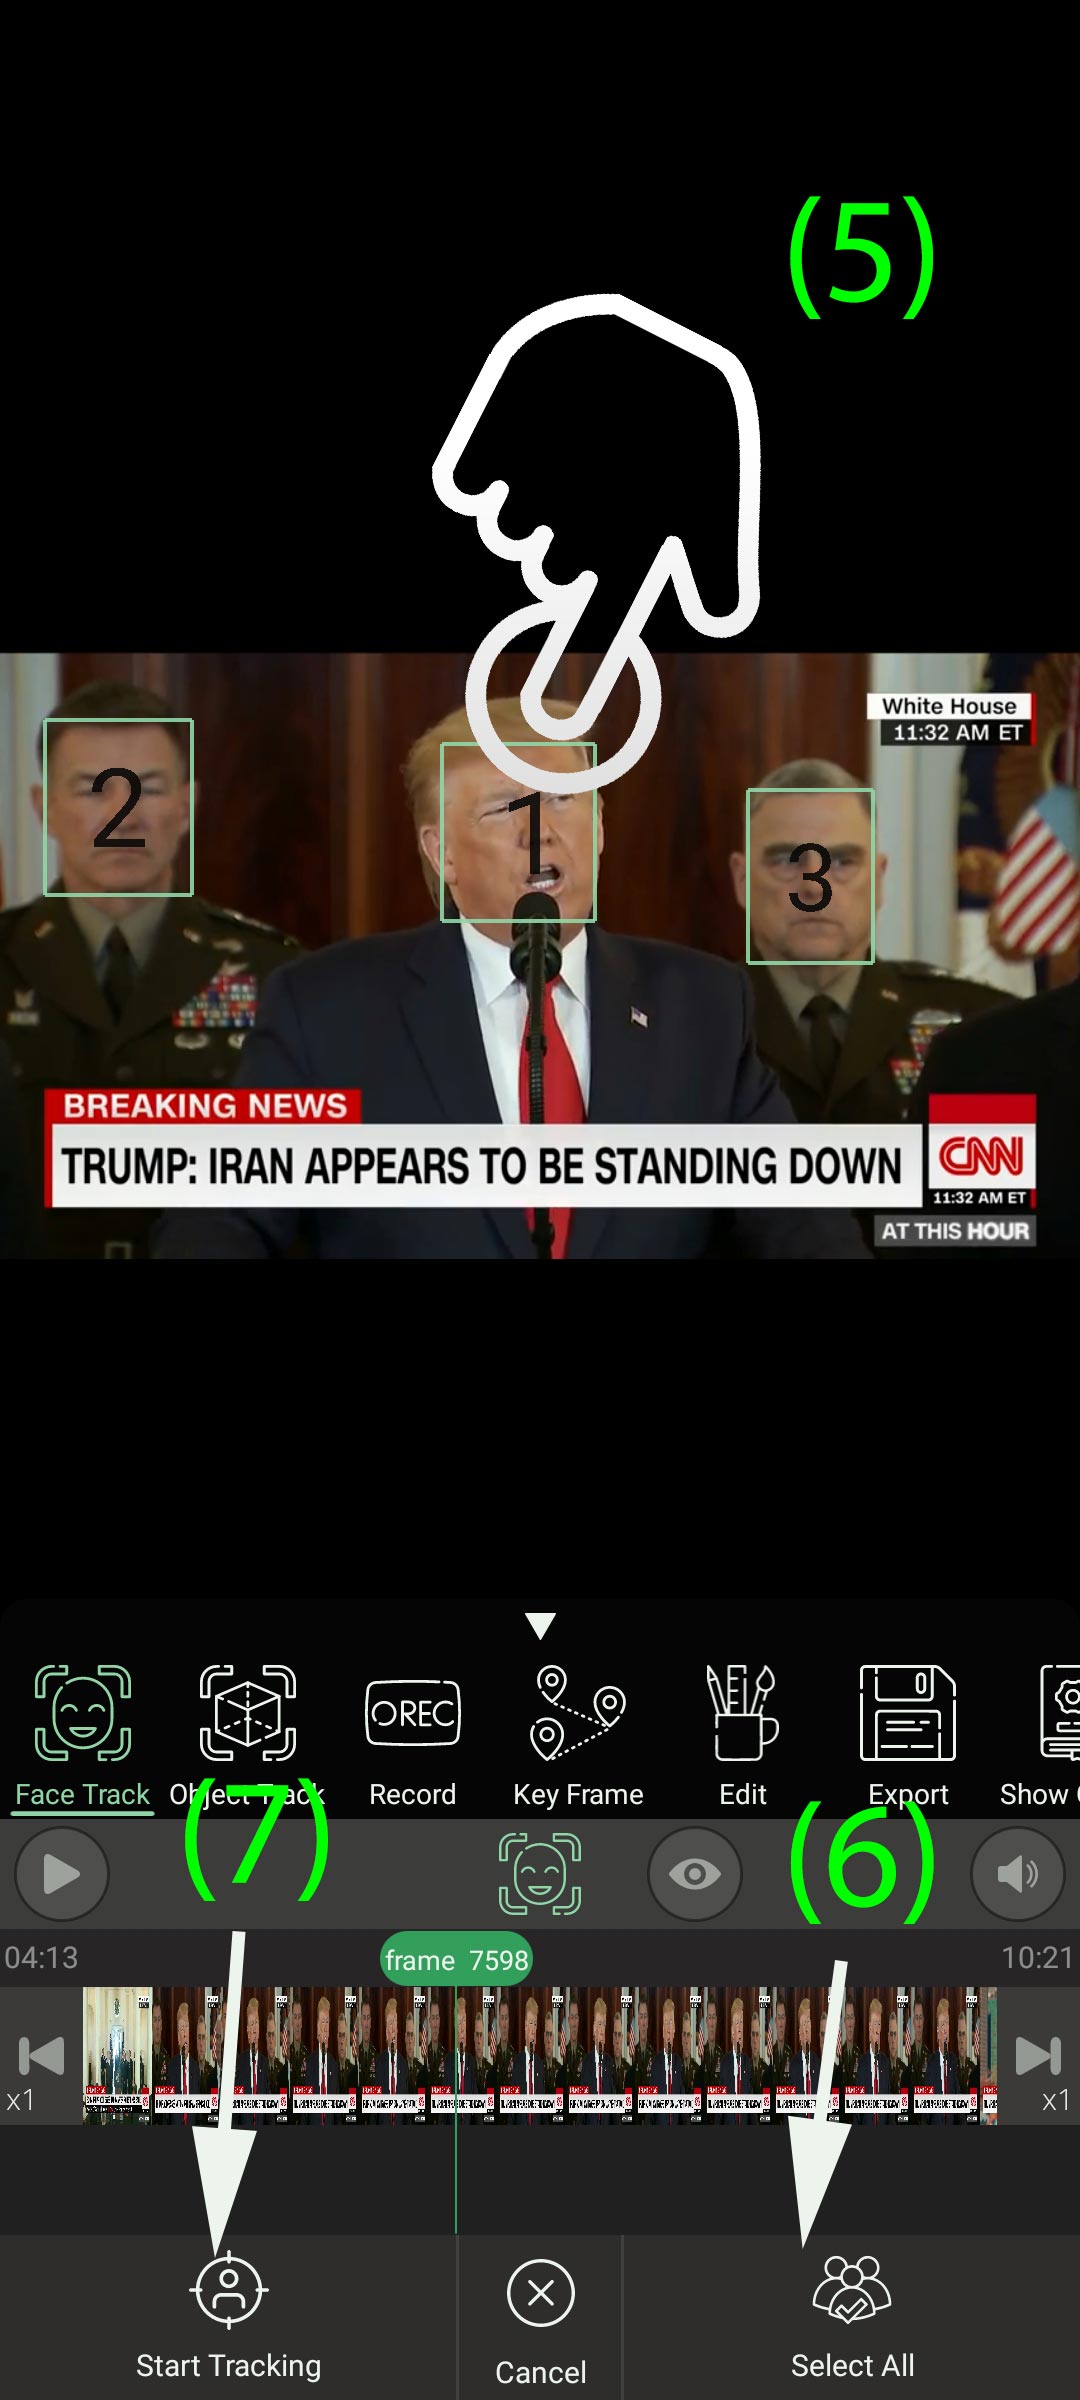
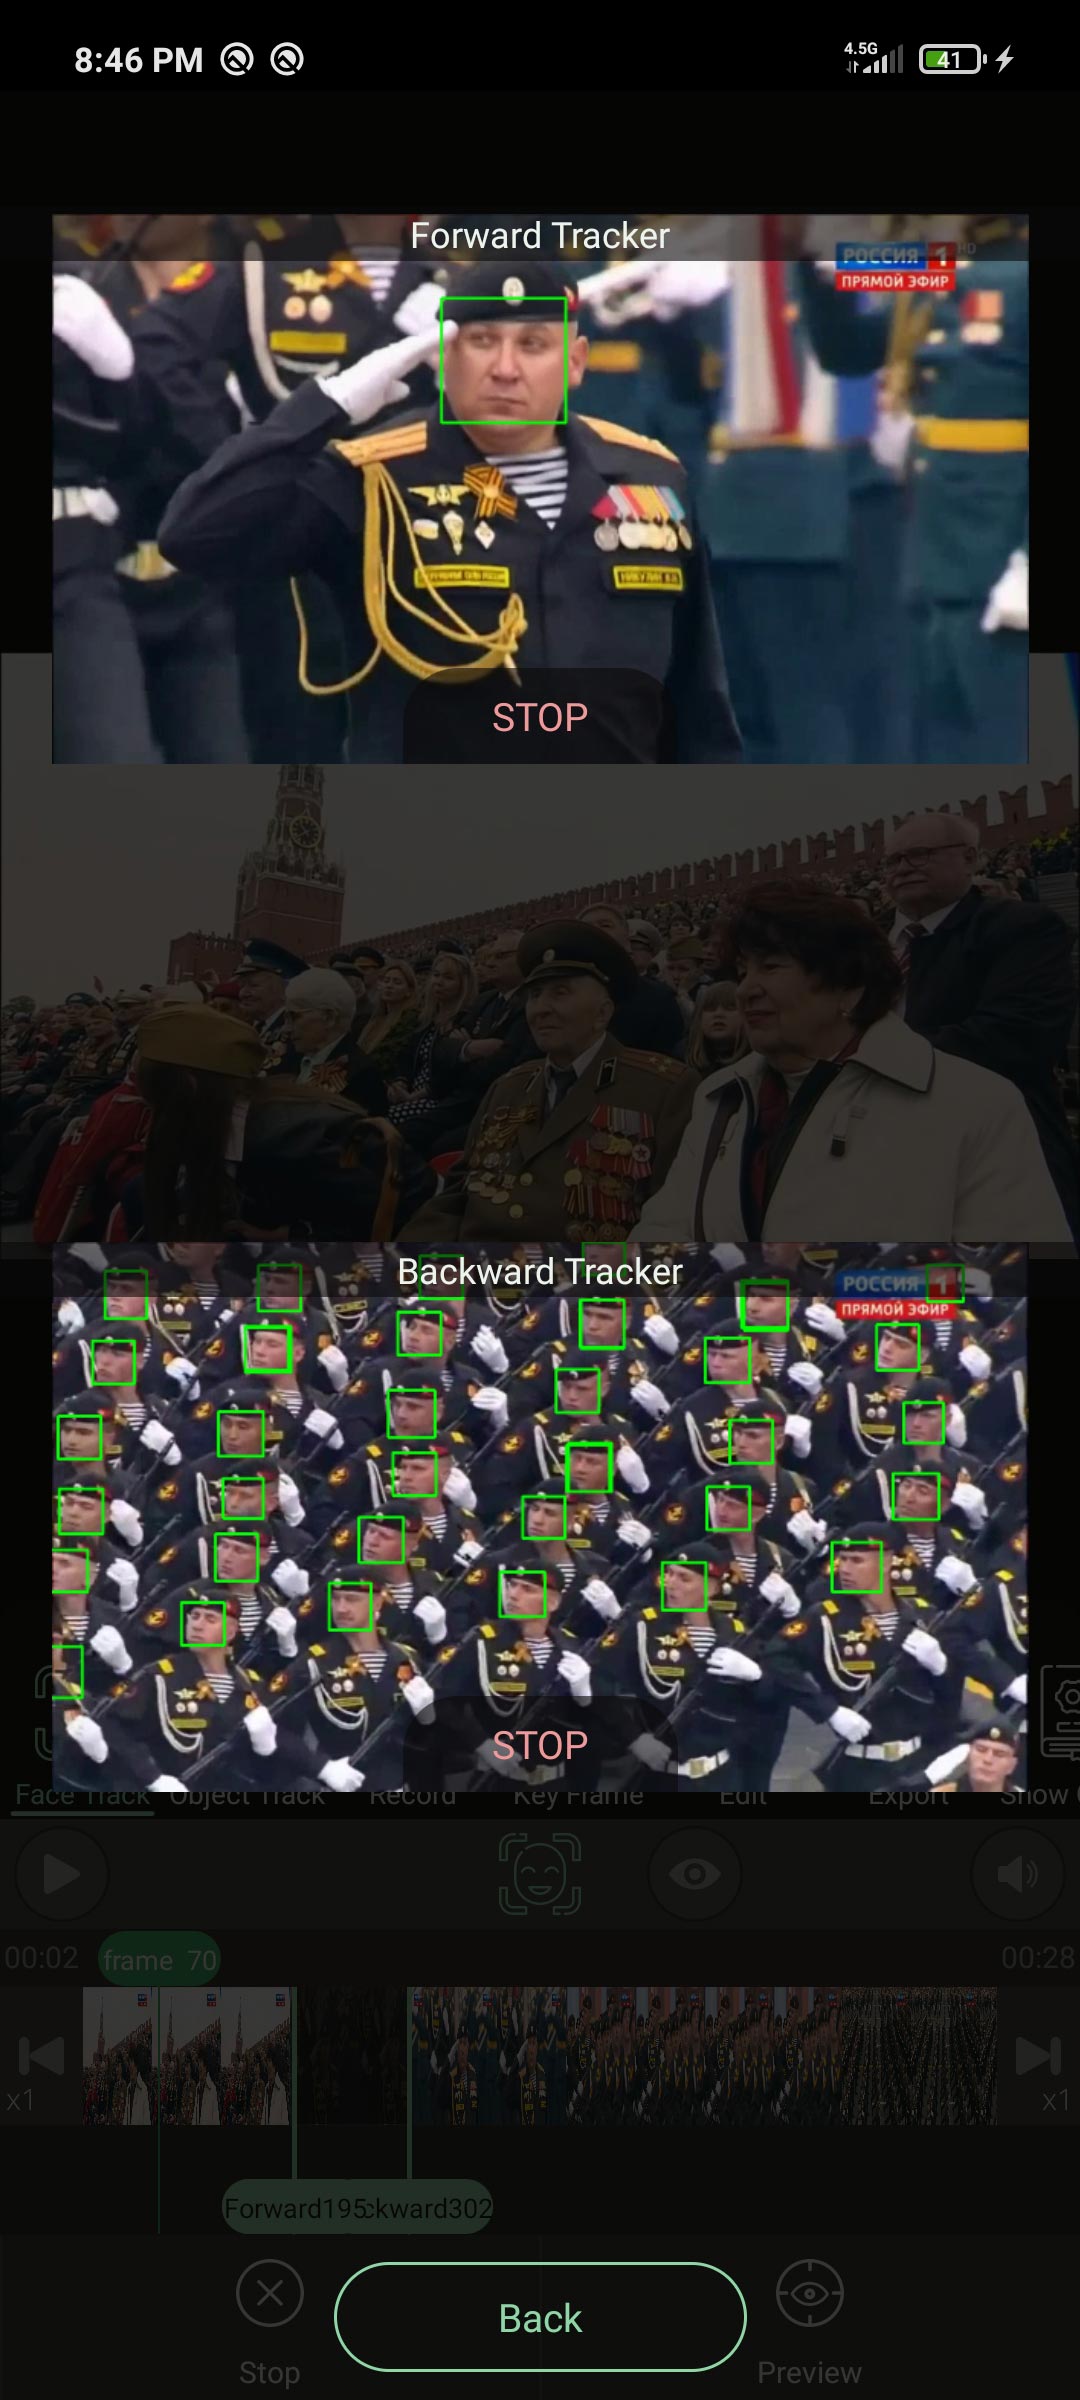
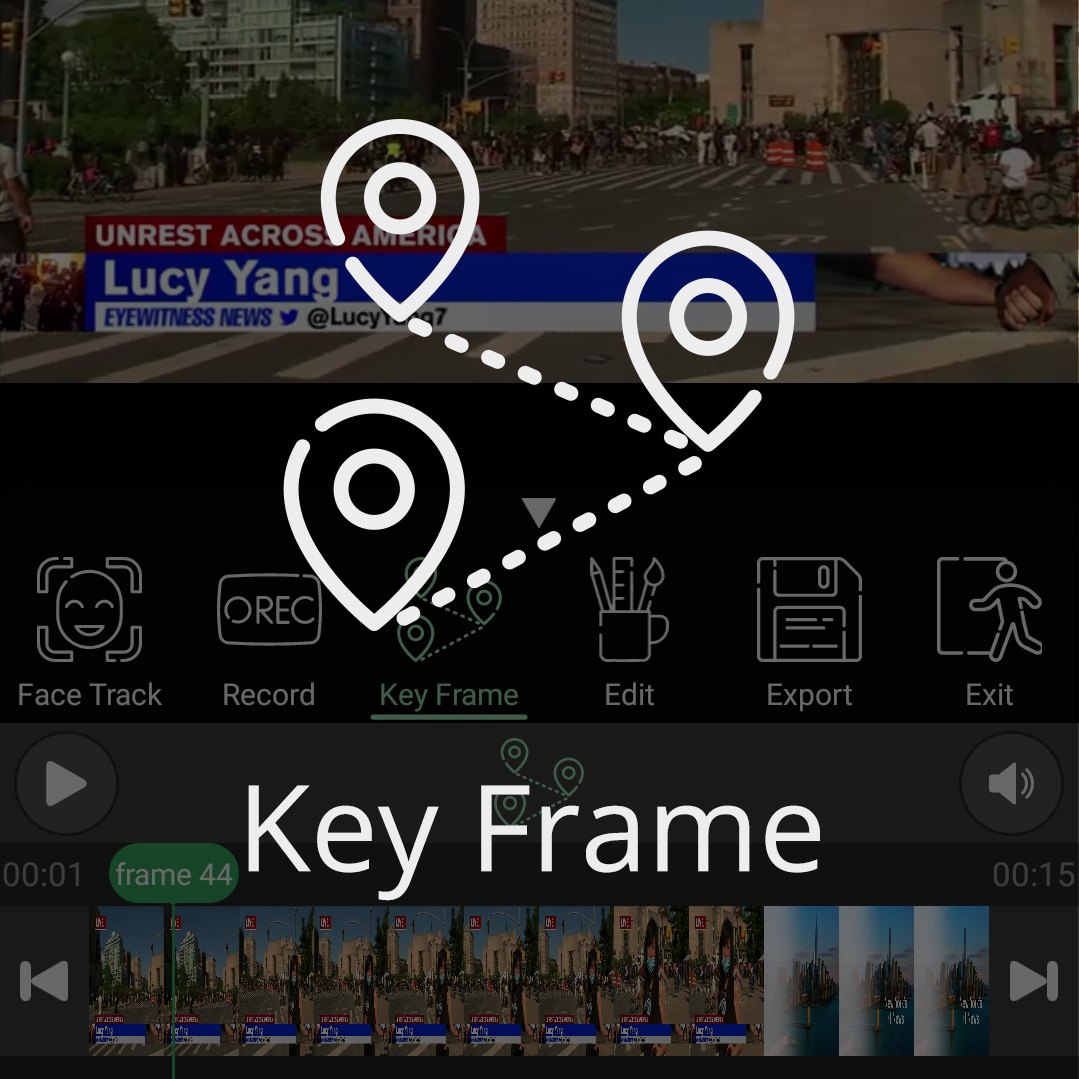
Basically, if you want to hide all the time a selected face is in the video, you do not need to go back to the beginning when the face appears, and whenever the face is clear, PutMask will automatically start tracking the face in two ways. To perform these tasks, for instance, if a face is present from frames 2 to 10, it is enough to go to any other frame from 2 to 10, such as 8 or 7 or 4. PutMask hides the entire face from frames 2 through 10.
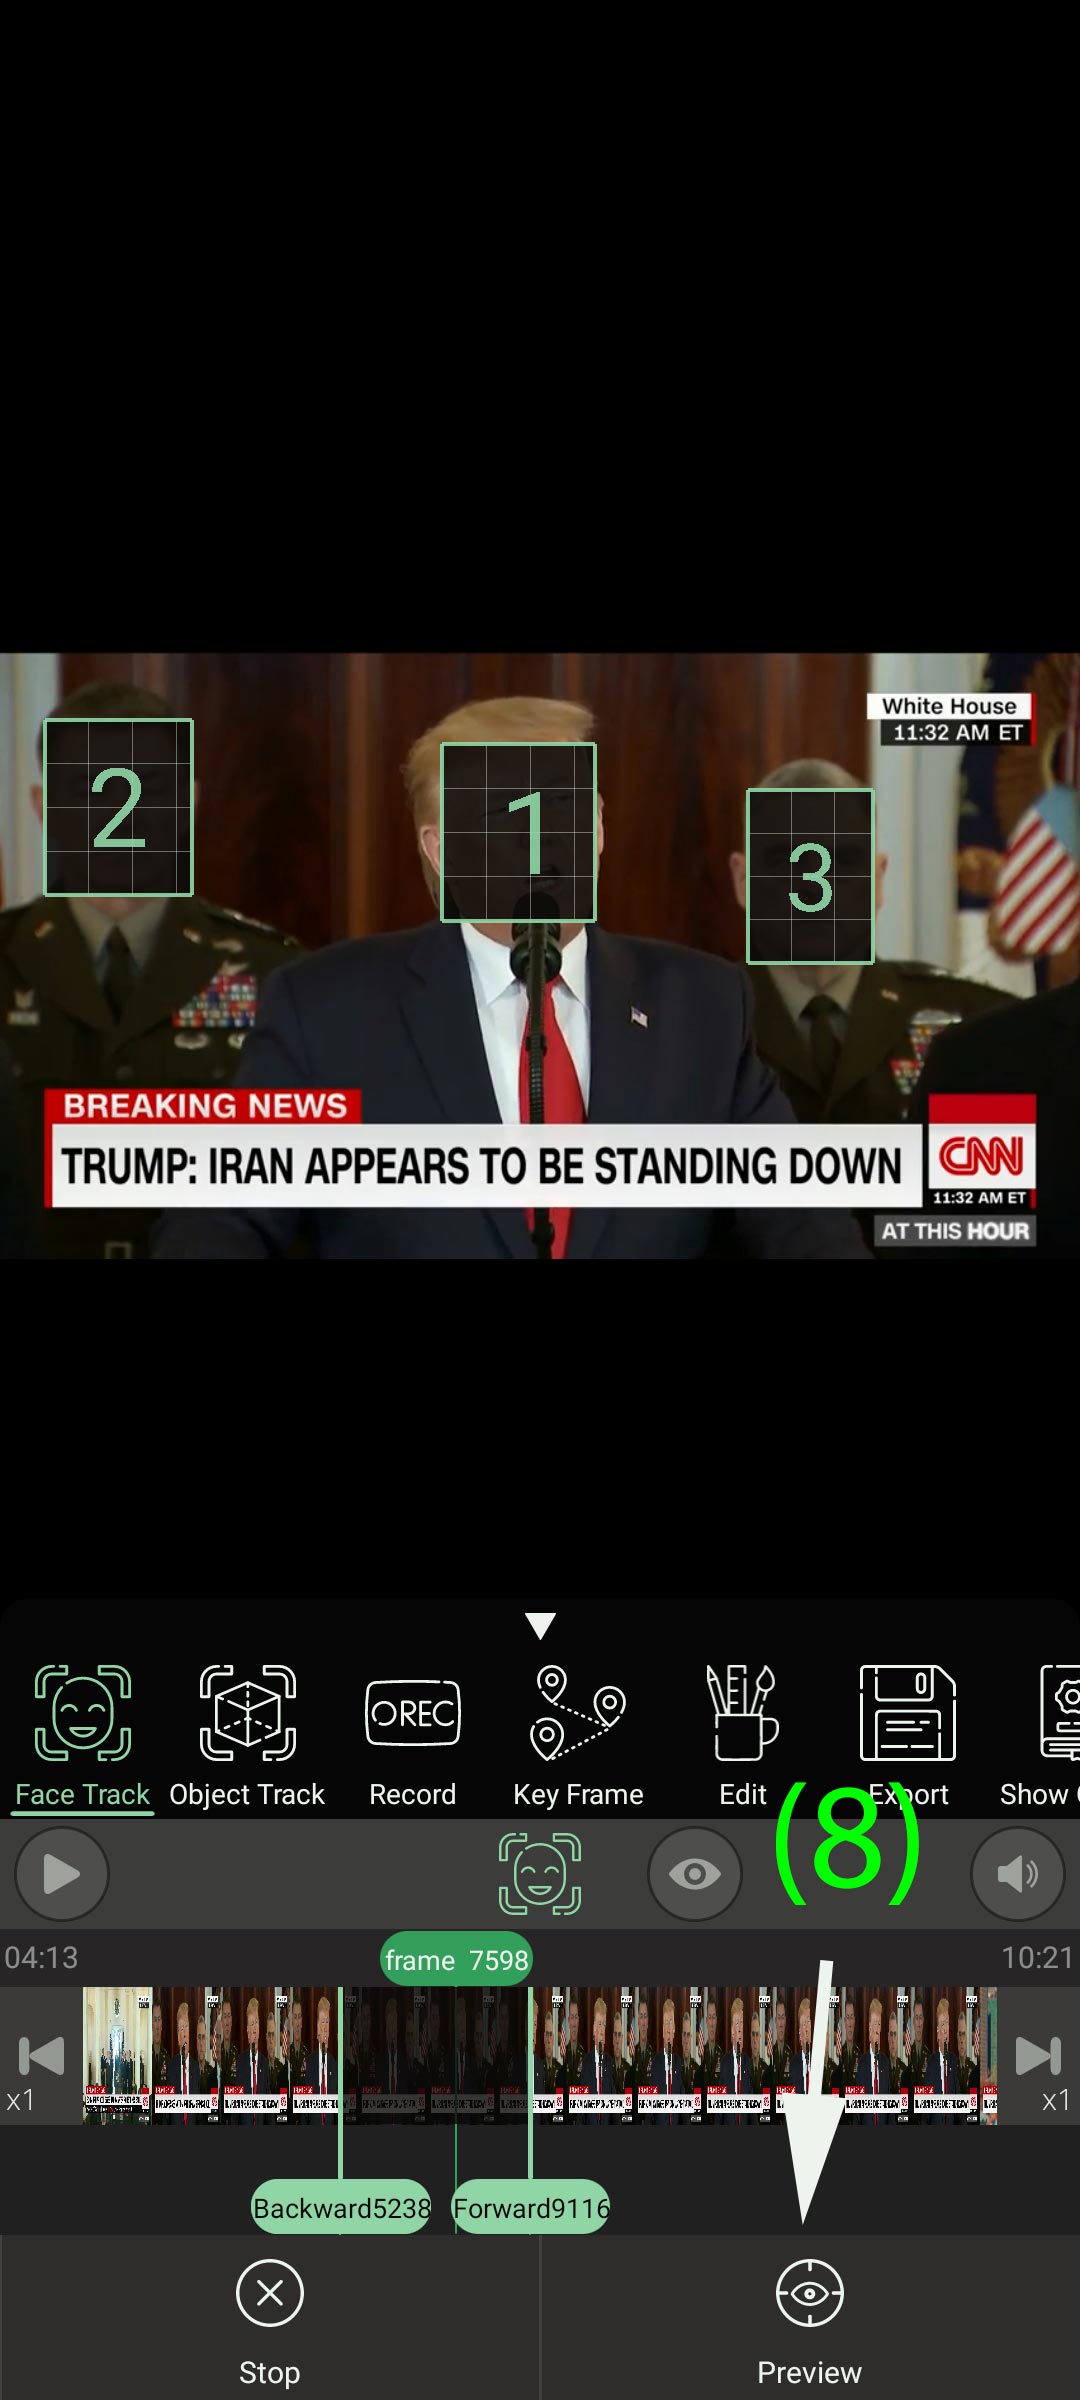
By clicking on the “Preview” button, you are able to see the face tracking process separately for the forward and backward trackers. (8) Should you not be satisfied with the results obtained, click the “STOP” button to end the tracking activity. (9) (Note that monitoring the face tracking process slows down the speed of the face tracking process significantly) Clicking the “Back” button closes the preview page and speeds up the object tracking process again. (10)


The second tool is useful when you don’t know what faces are in a video, or when you don’t have the time to make long edits, or when there are lots of faces in the video, and you have an android device with powerful hardware.
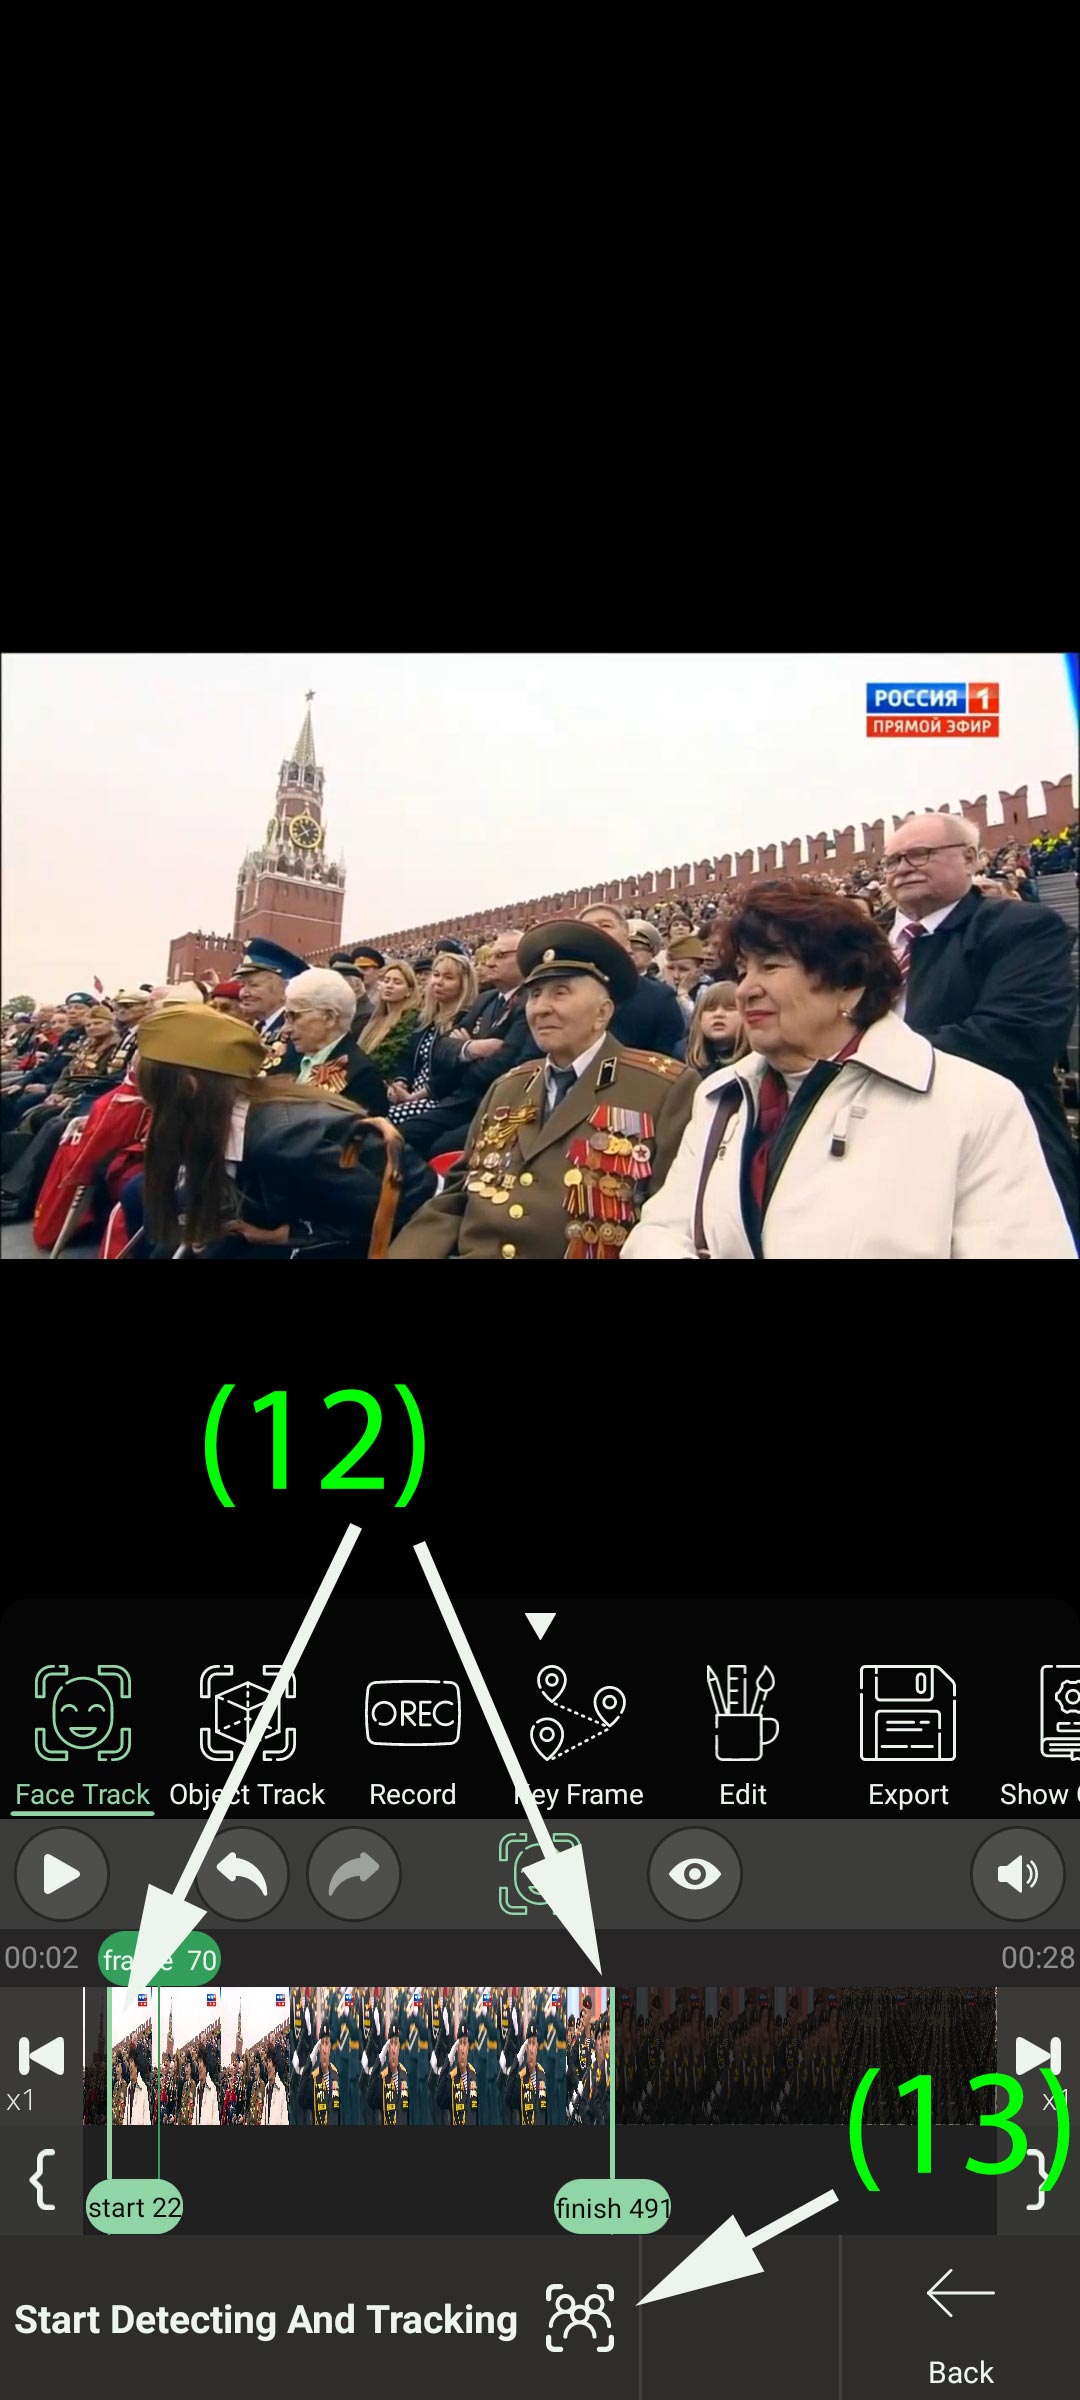
When PutMask goes to face tracking mode, this time click on the “Detect And Track All Faces” button. (11)

Now change the “Finish” and “Start” locations to indicate the time interval at which you want PutMask to detect all faces. (12) By default, start and end show the entire video. After selecting the appropriate time period, click on the “Start Detecting and Tracking” button.(13) PutMask starts detecting and tracking all the faces in the interval you selected.
The stop and preview features are also available here.
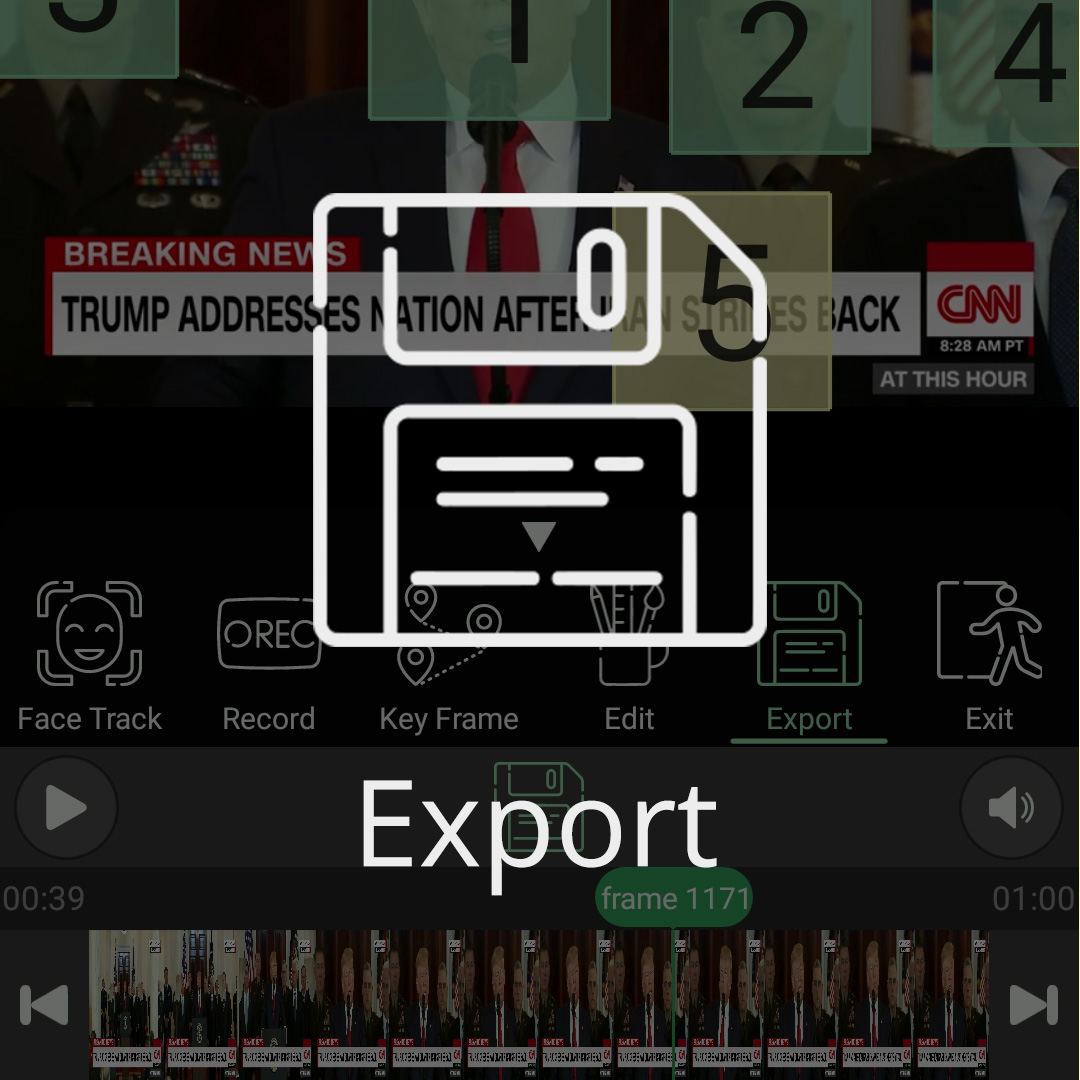
Note: Make sure you see the final result of your work once before you export it. If your face is clear even in one frame, your identity will be revealed.


2 thoughts on “Face Track Tutorial”
very good
Ich will ein anderes Gesicht darauf machen dann kaufe ich es auch geht das überhaupt das brauche ich
Mfg
aktepe.hidayet@googlemail.com
Aktepe hidayet